If you didn’t know, I am a HUGE fan of Wakelet. See, I was at the very beginning of the Pinterest craze all those years ago because I LOVED the visual aspect of storing my bookmarks. Wakelet hits the visual aspect for me too but it’s easier to share with others and it can be COLLABORATIVE.
Chrome extension
I love the Chrome Extension for Wakelet. If I’m on a website, I can click the W in my extensions bar and it will open a save to Wakelet window! So easy, just like the save to Pinterest button that I love so much!!!
I love when I’m on my desktop version of Twitter (and the Chrome extension is enabled) that I can hit the W and save a tweet. When I’m on my phone, I hit the up arrow and save to Wakelet. Also sooooo easy!!!

Wakelets can be public. If you click on this link, it will take you to all my public Wakelets.
BUT, you can also may them private! This is perfect for student work. The private links are sharable, and only the people you share them with will see them. It’s a great way to share student work with the class and their families.
Wakelets can also be collaborative. You can assign each student a topic and they can add to a shared classroom Wakelet that is private to everyone except your class.
Spaces
This week, Wakelet released a new feature called Spaces. Basically, it’s a Wakelet full of Wakelets. Why would you need this you ask? Well, here are a few examples I have created just this week.
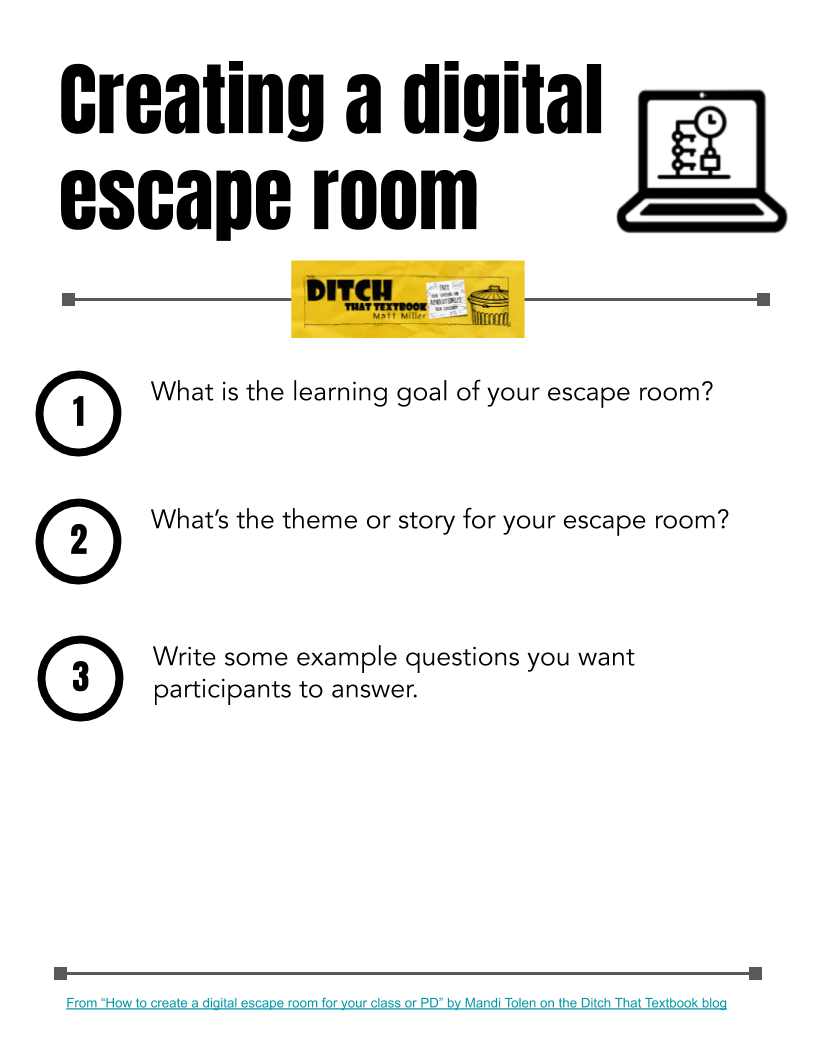
Digital Escape Rooms – I had 3 different Digital Escape Room Wakelets on my site. One was the escape rooms I have made, another was resources to create your own, and a third was escape rooms others had made. I had to share all three of them when I talked about escape rooms. NOW, I can just share the space will all my Wakelets inside.
Desmos Resources – We are always finding Desmos resources. I was just saving them to a Wakelet called Awesome Math Ideas. A few colleagues of mine ALSO have Desmos ideas saved. To make the process better, I made a Desmos Space and we have our 4 content areas in it. It’s now collaborative so we can all add what we find. This is going to be WONDERFUL!
So what can YOU do with Wakelet Spaces? I’m so glad you asked. Here are a few ideas, in addition to what I’ve shared above.
- Classroom Portfolios – Each student would have their OWN Wakelet that you can share with parents and guardians but you can keep all of your students in a Space to keep them organized.
- Resources – You could create resource folders for parents, students, or colleagues (like my example above)
- Newsletters – Create a Wakelet for each newsletter and store them in a Space so parents, students, etc. would have access to previous newsletters.
- Gallery of Student work – I plan to use this idea SOON. My students create ALL THE TIME. I share some of their work on my blog, but using Wakelet, I can share ALL student work. I plan to create a Space to keep all the work I share by class. I can’t WAIT to get this one started.
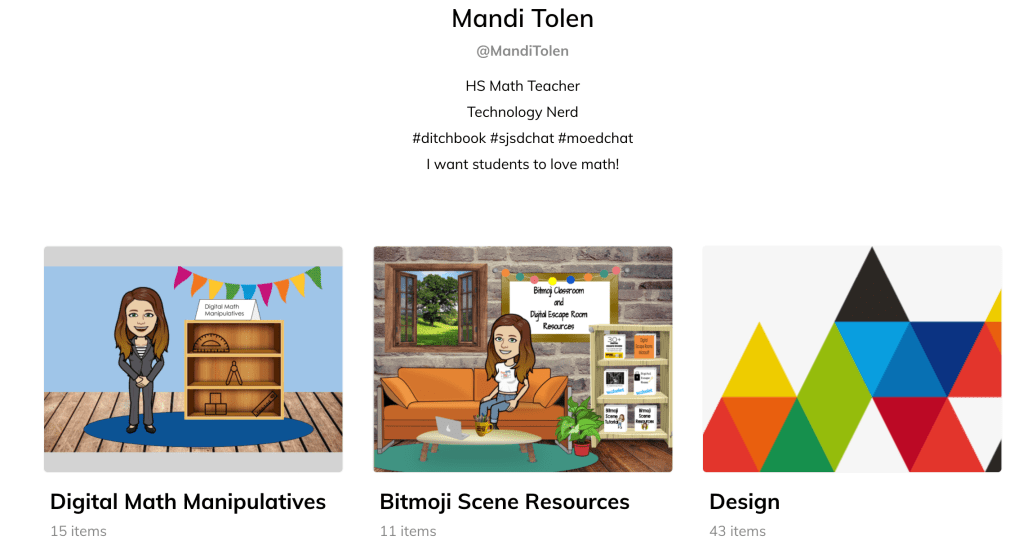
What will you do with Wakelet spaces? Tag @Wakelet and @MandiTolenEDU on Twitter if you use Spaces in your classroom. I would love to learn some new ideas from you!!!


 I went through a few attempts to create a memory game in Google Slides. I thought about linking pages but I needed to see two at a time. I wanted to remove one element “on click” but I could only get them to dissolve in a specific order. I settled on deleting the cards and it worked like a charm.
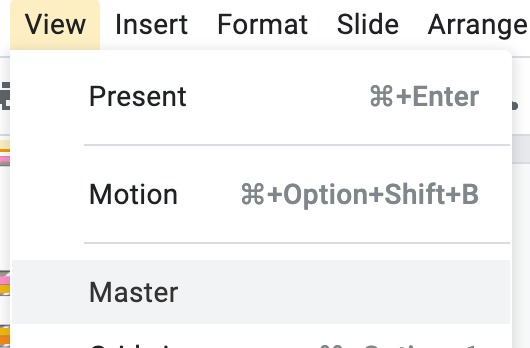
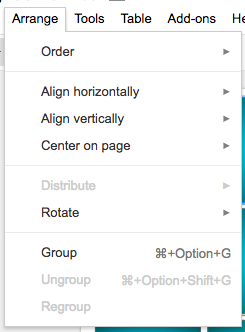
 We are going to use the Master Slides to create our content (the back of the cards). This will prevent the movement of the content when players remove the top card. Using the Master Slides will also make editing possible should you wish to change this activity in the future. The way I suggested to do this before would not allow that.
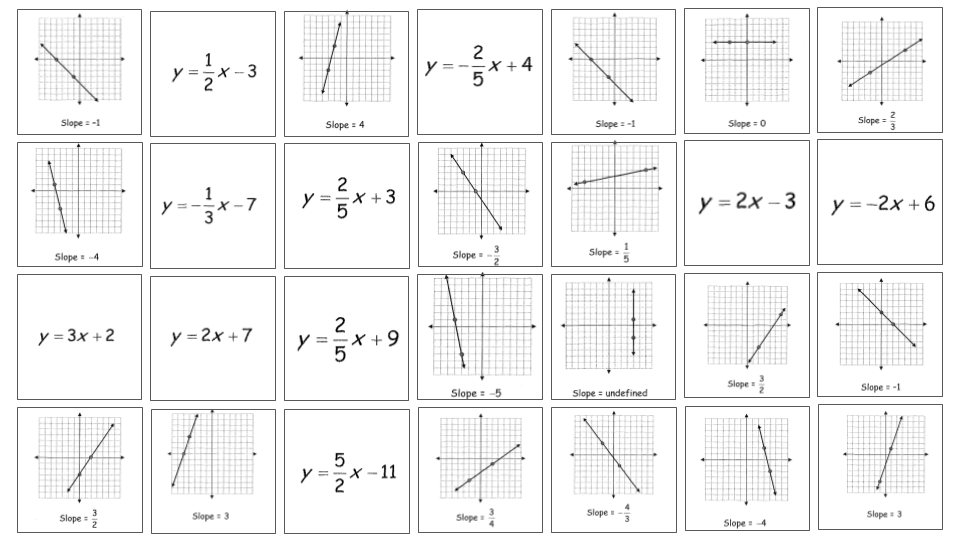
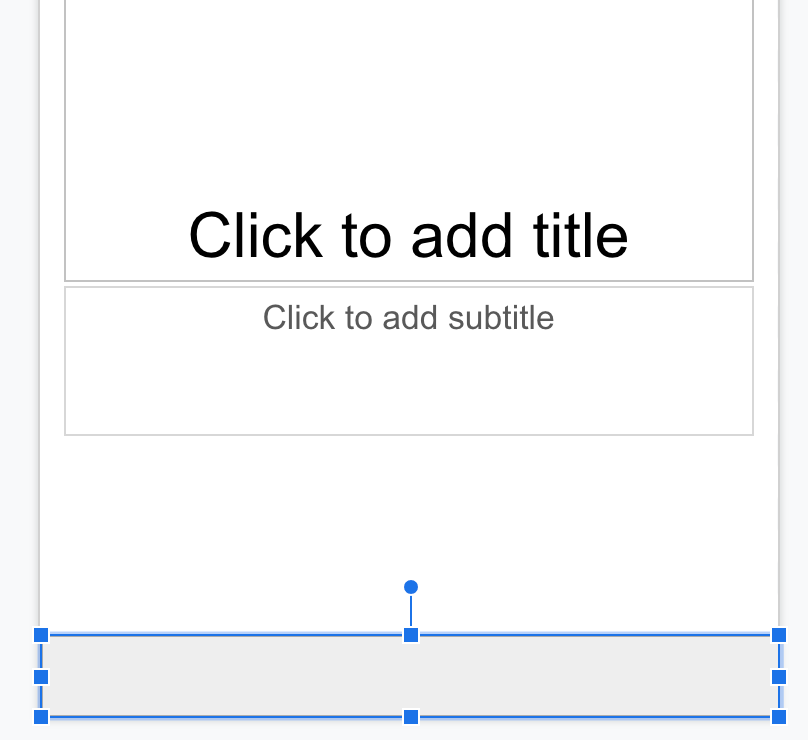
 We are ready to make the cards. I used the rectangle shape and held down the SHIFT key to make sure I had perfect squares.
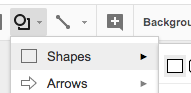
 One suggestion from my students was to make this an image so the ? wasn’t editable. Sometimes when clicking on the square they got the ? instead.
  Create the rules page. I’ve included the image of my rules page below. It explains how you would “flip” the cards over to play the game.
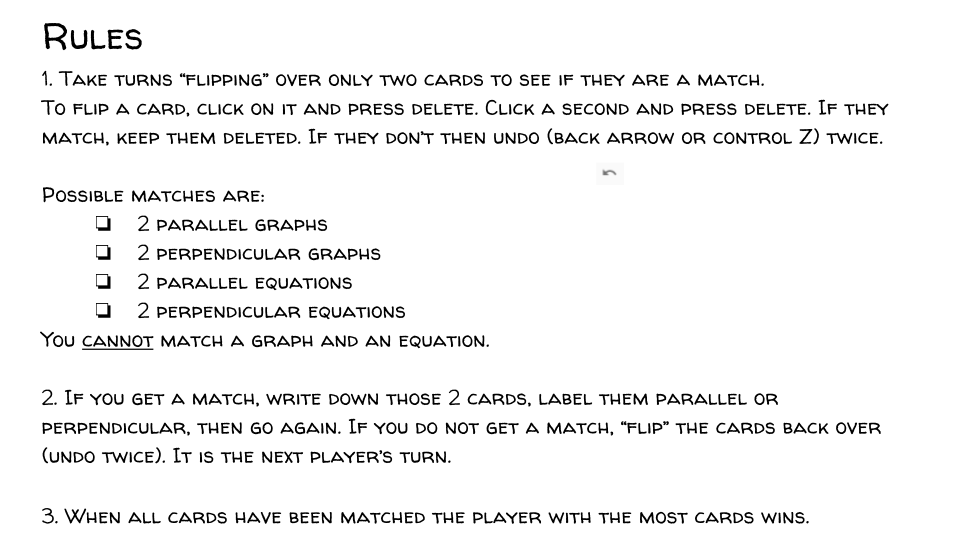
 Play the game!

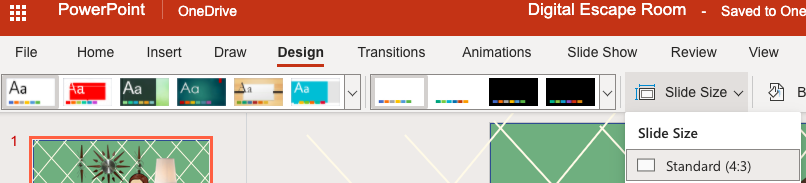
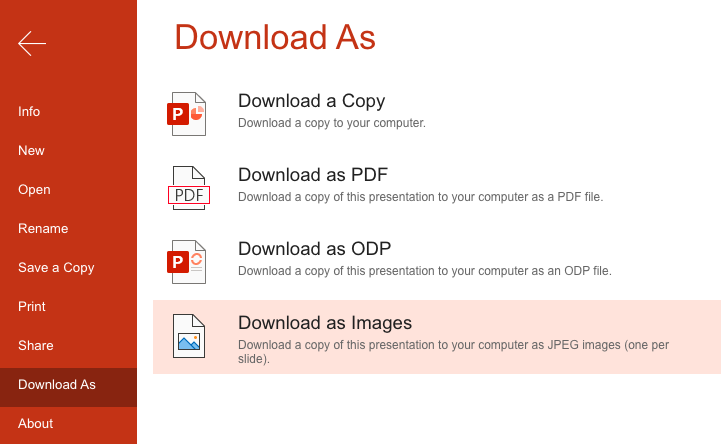
 Open Drawing, Slides, or PowerPoint
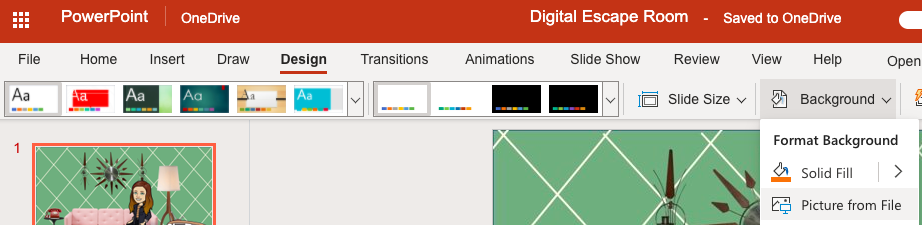
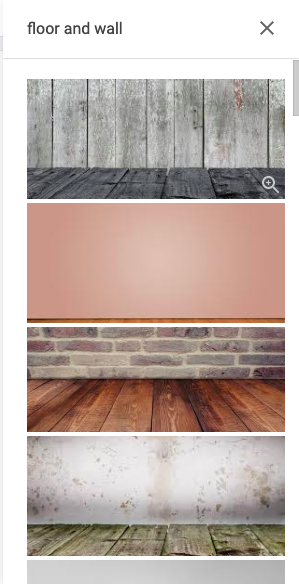
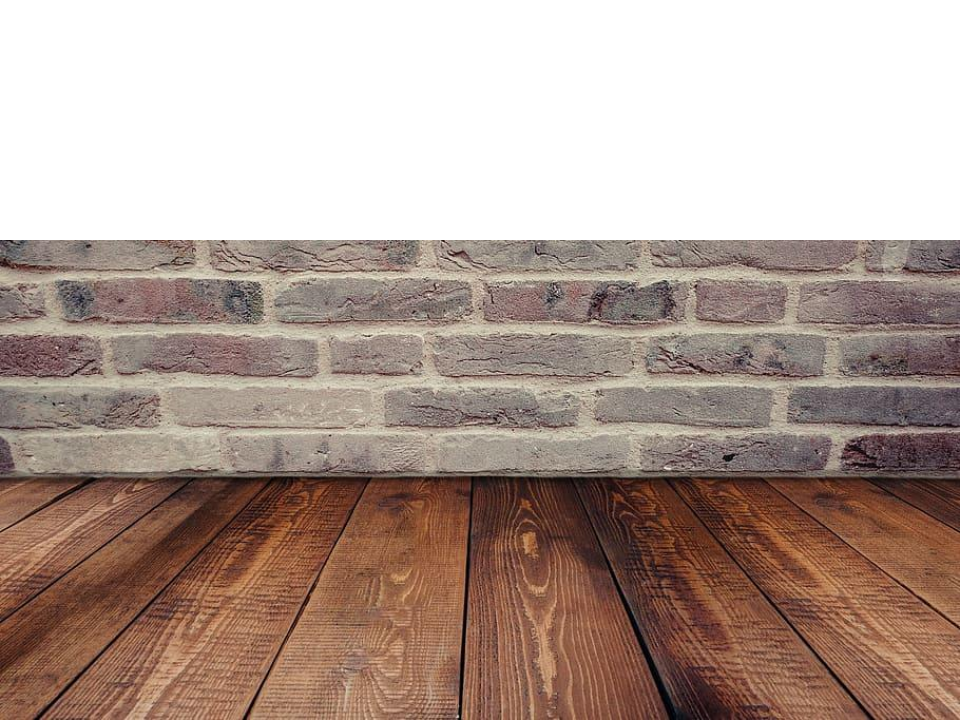
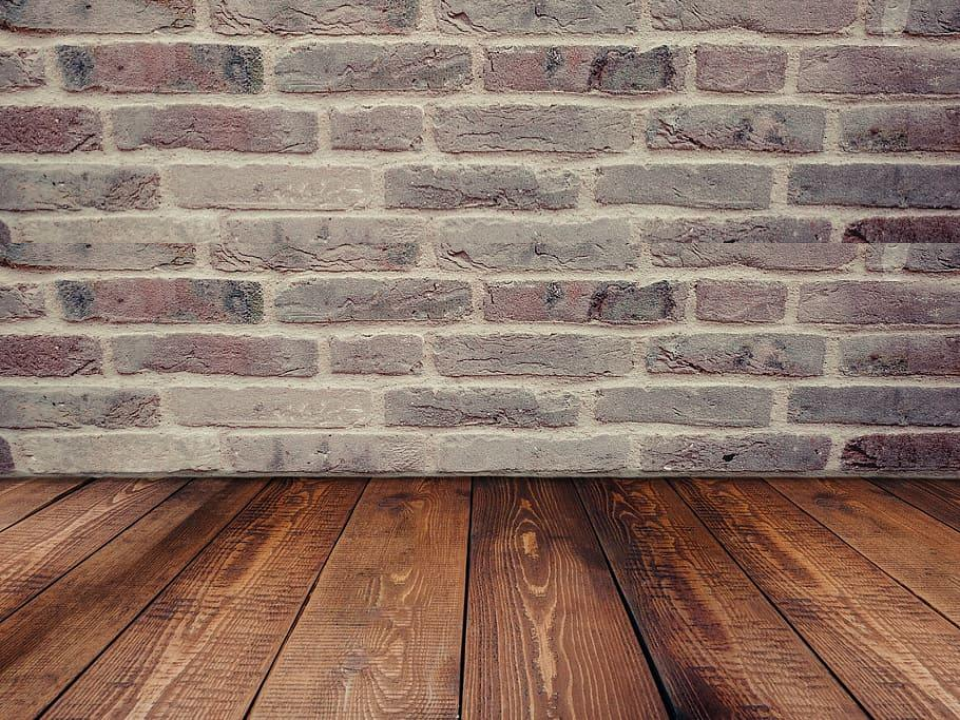
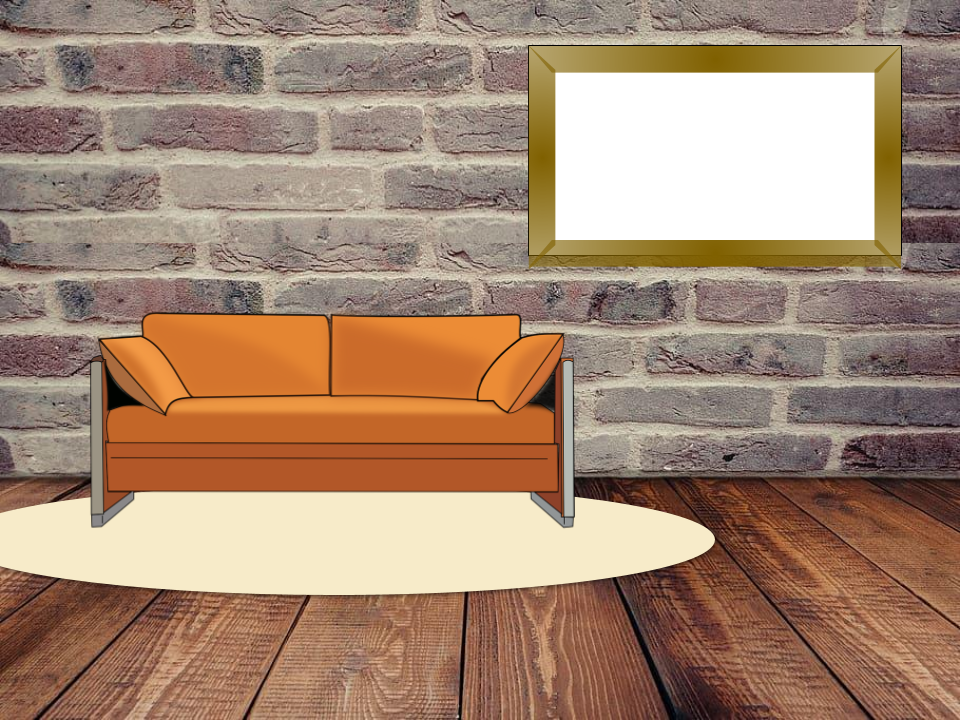
 Find a wall and floor
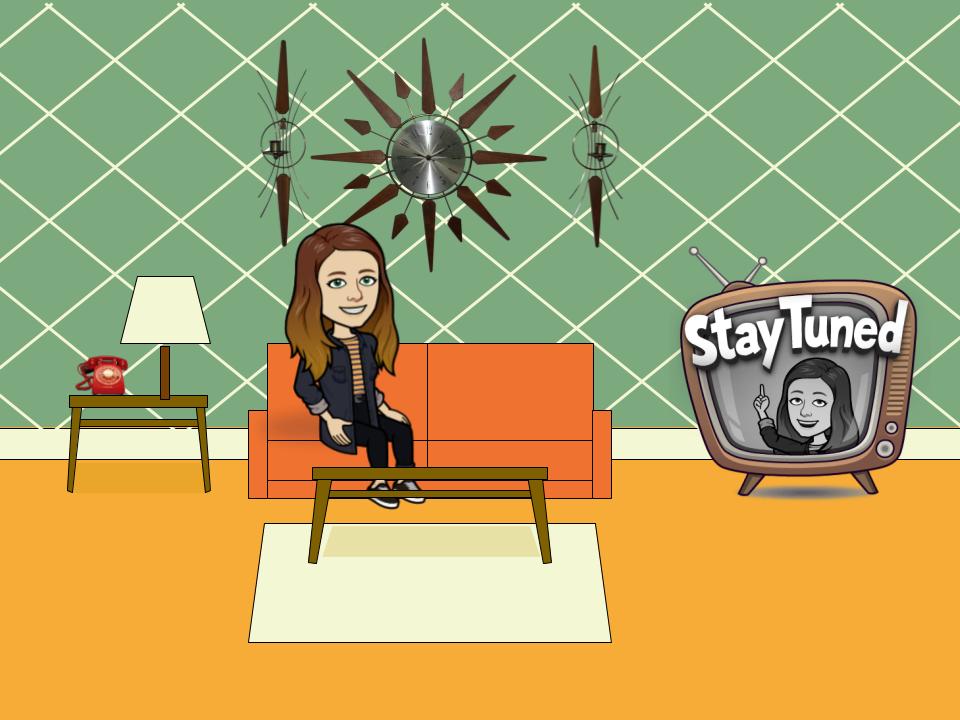
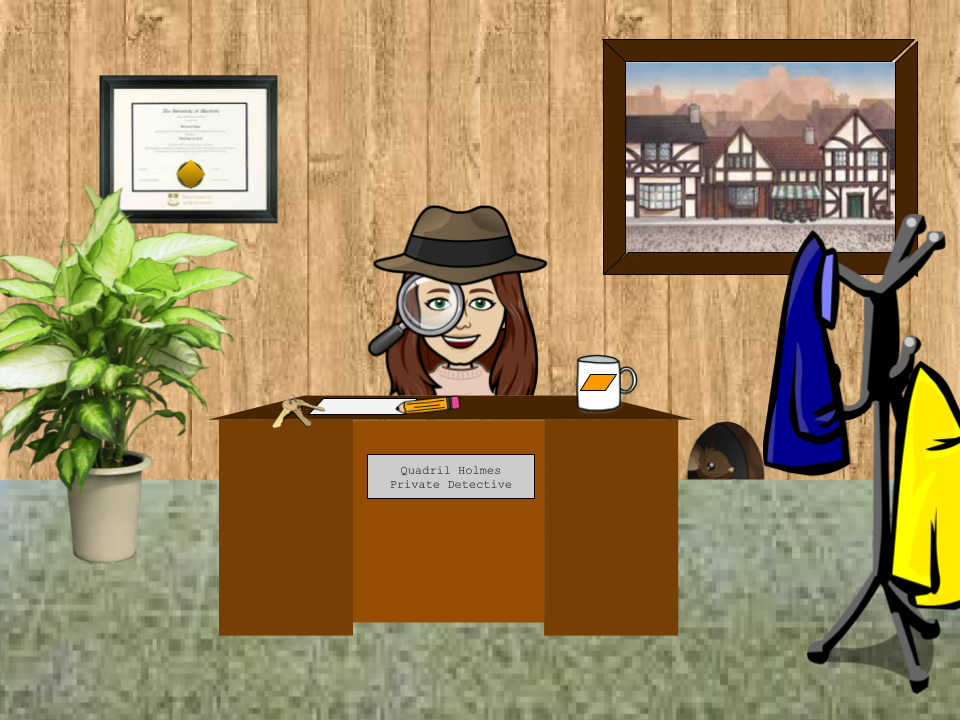
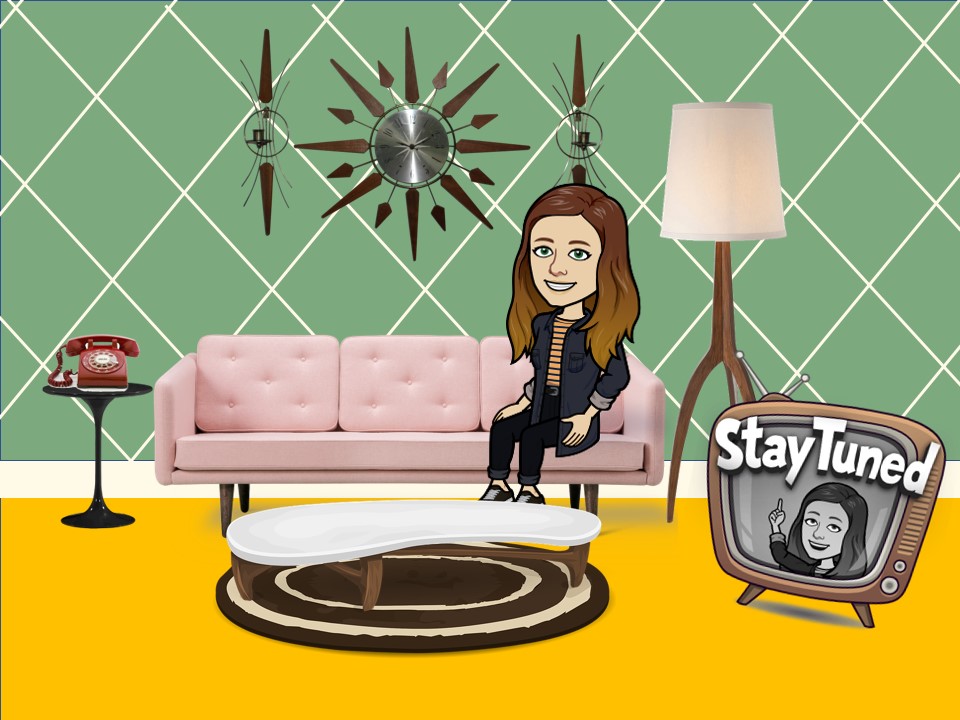
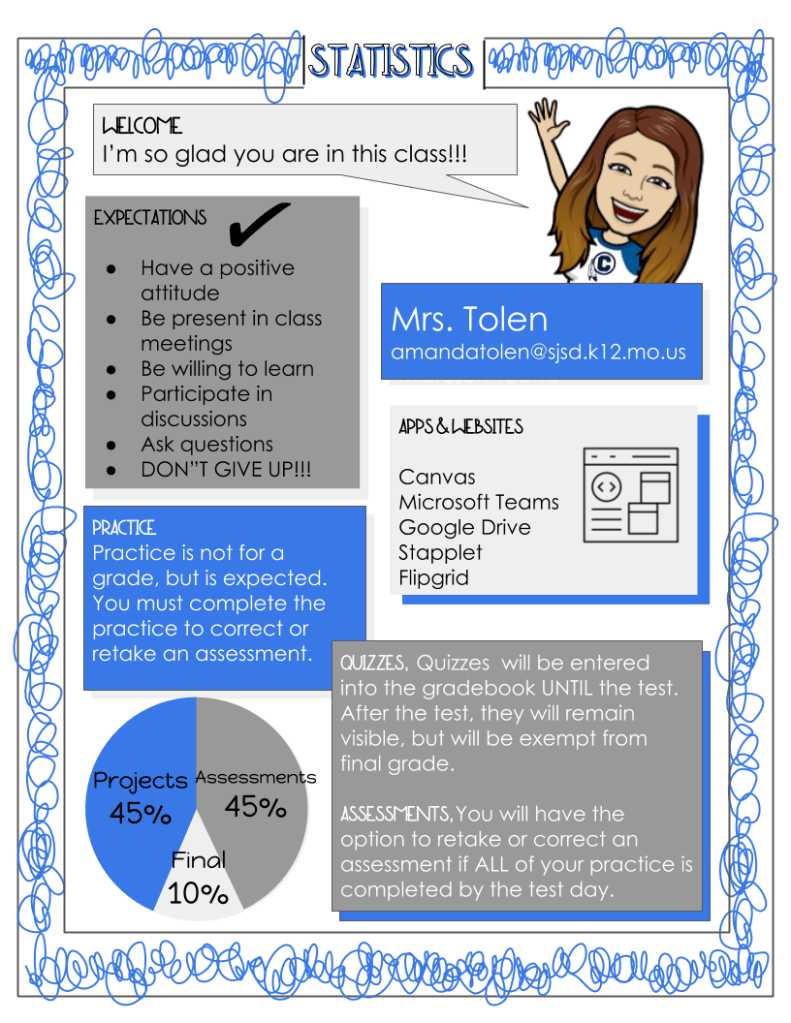
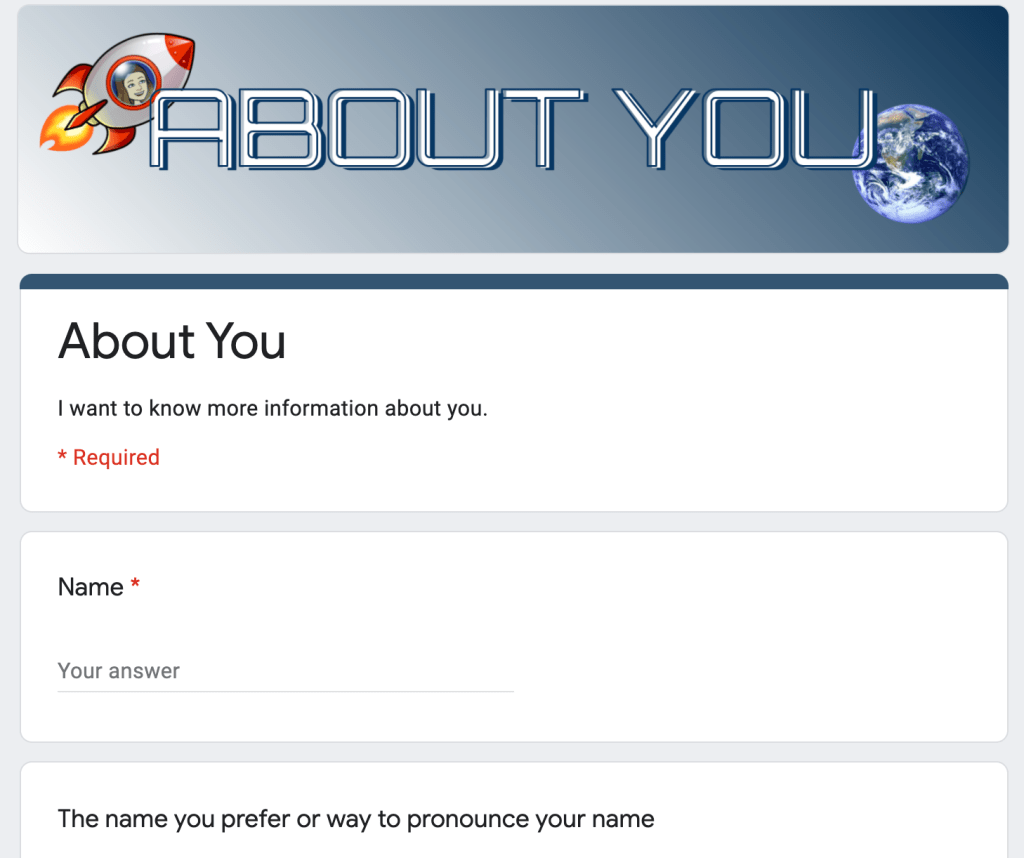
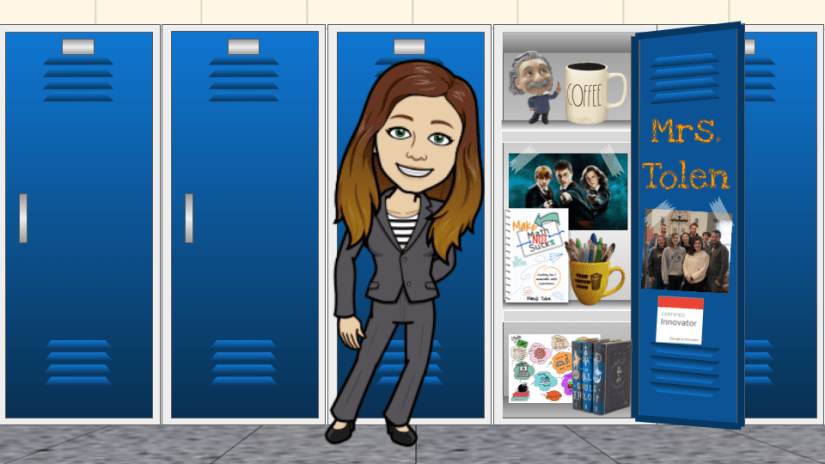
 Add classroom elements and your Bitmoji
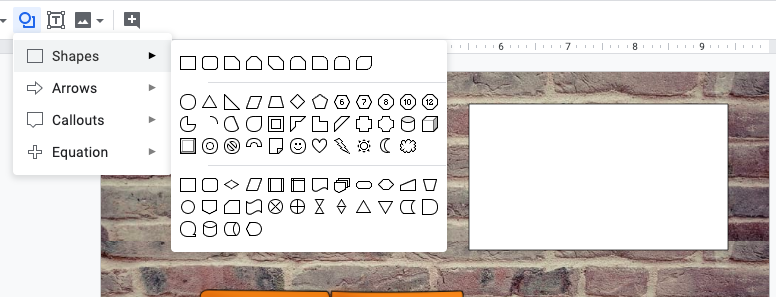

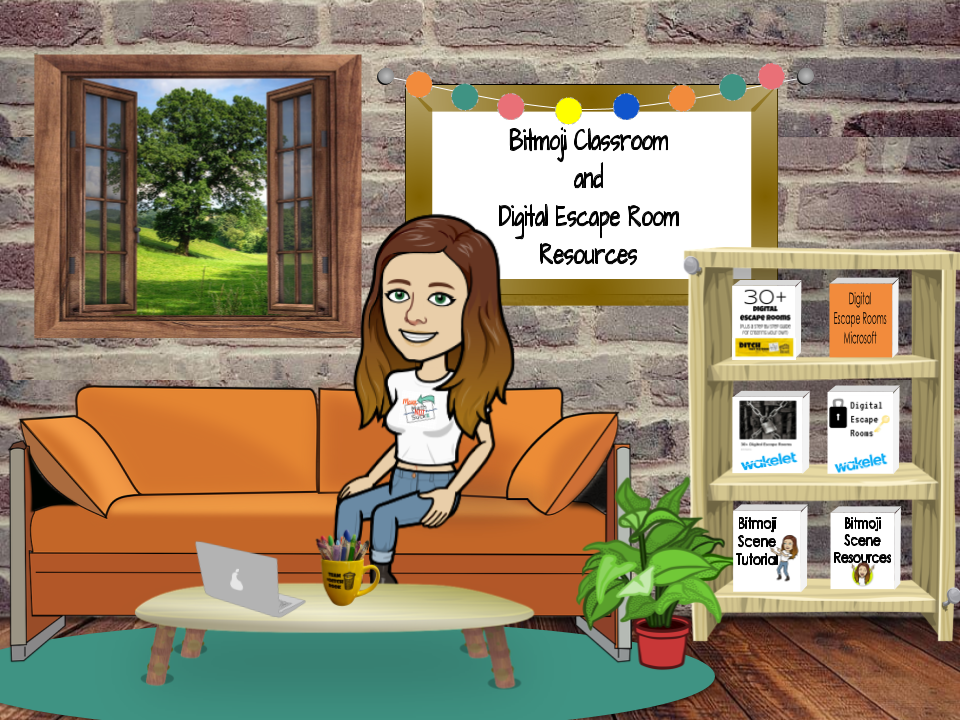
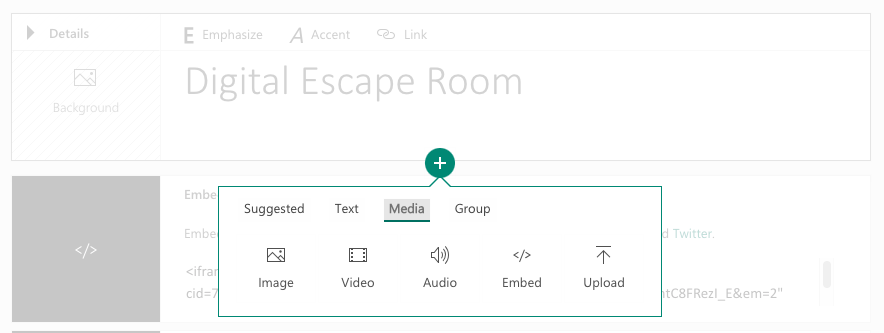
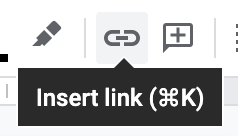
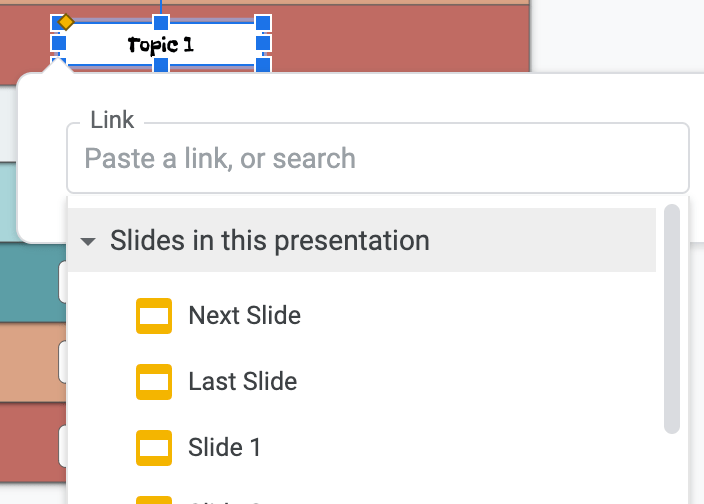
 Set Hotlinks
 Use your image

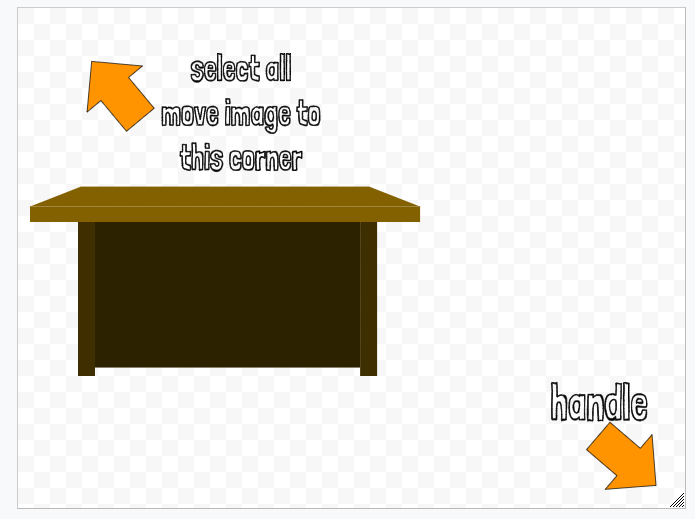
 Open Drawing and Paste in Clipart
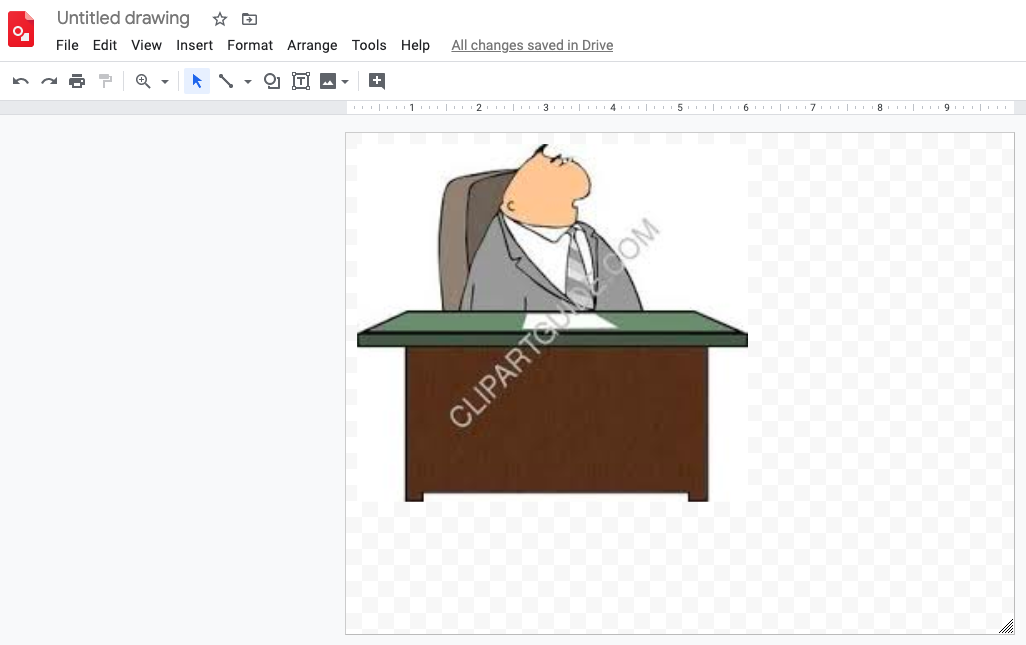
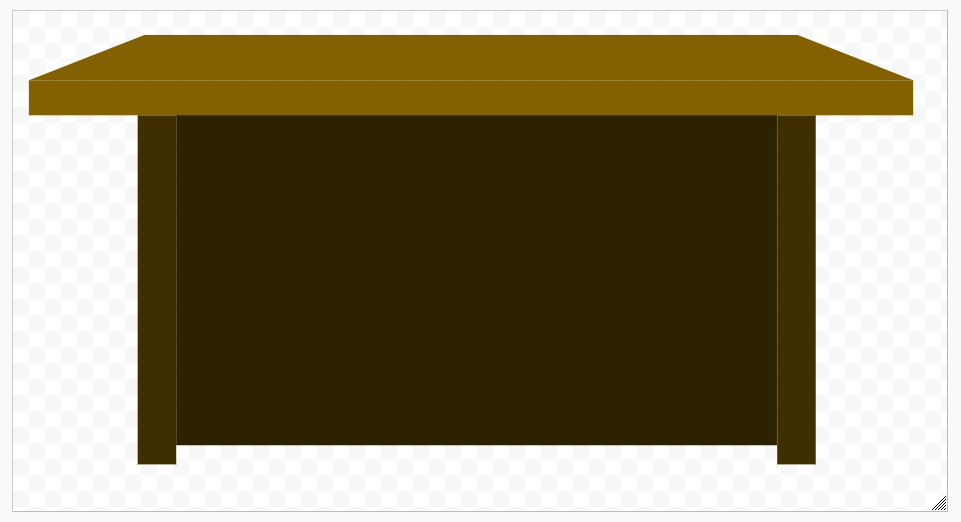
 Use Shape Tools to Create Image
 Delete, Shrink Canvas, Save