A combination of events led to the creation of this digital flip book.
Event 1: Our school ended up with “air quality” issues due to “spores” created from flooding in the school and hot air. Because of this, everything porous is our rooms were thrown in the dumpster. This is 20 years of books, memories, and saved projects, including examples of foldables I do every year. We will be teaching remotely until our building is clean and safe to be in.
Event 2: Covid! When we do return in person, we need to reduce contact with papers. The foldables that I usually make will need to be digital to cut down on paper contact.
Event 3: I saw this digital foldable idea on TikTok from @adungan. I knew this was the solution I’d been looking for.
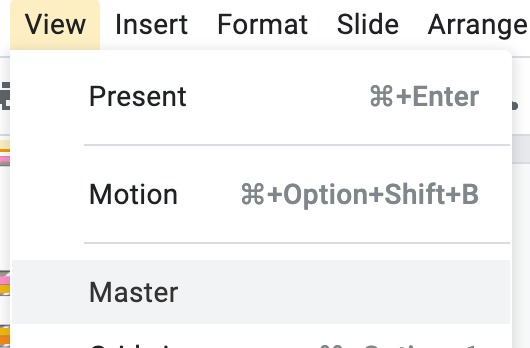
I created a template to make a five topic foldable. You could easily adapt it to more or less. You can go to View-Master and change the tab names, colors, and adjust the number of tabs.

You can create you own if you want to start from scratch.
- Open a new blank Google Slide and go to File-Page Setup. Set the page set-up to 8.5 x 11.

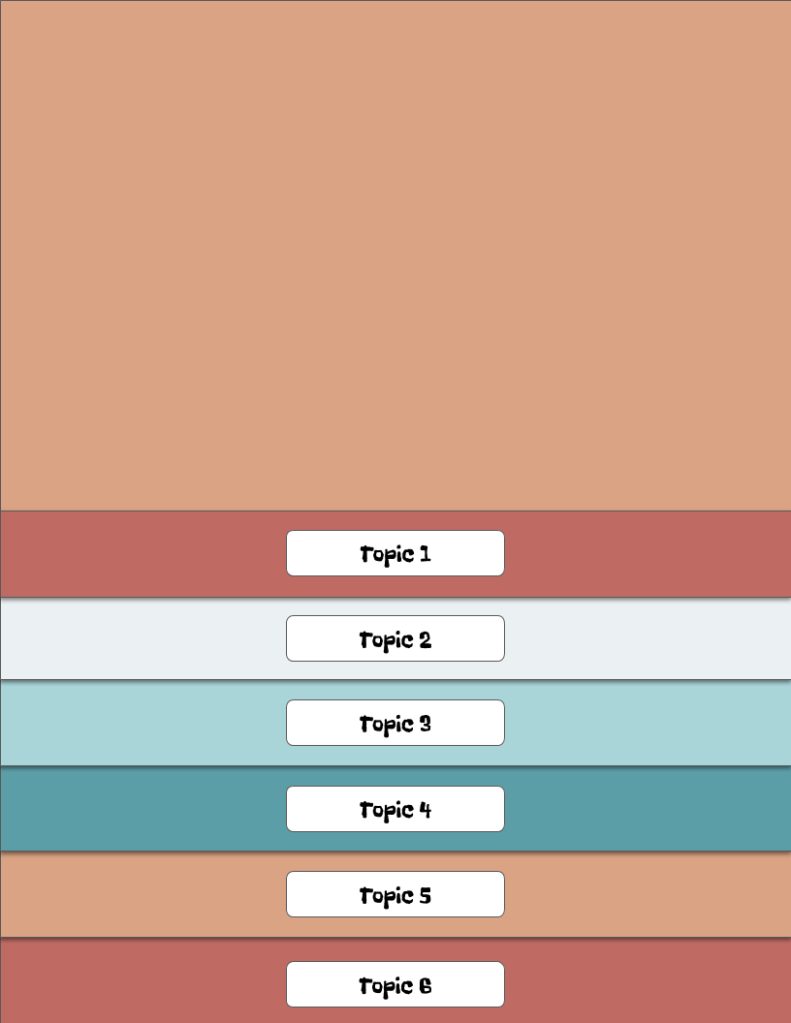
2. Determine how many tabs you want. Let’s make one with 6 tabs this time.
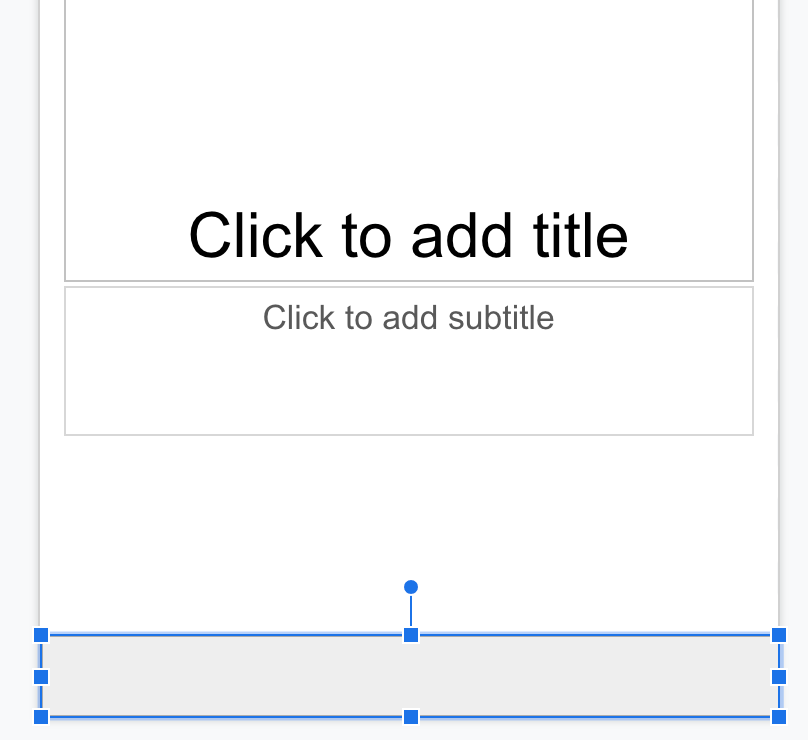
Using the shapes tool, you are going to draw rectangles for the tabs.
You can change the colors to match the color theme you are going for. You can look for color palettes and get the hexidecimal code OR you can intall a Chrome extension color picker like Color Zilla.

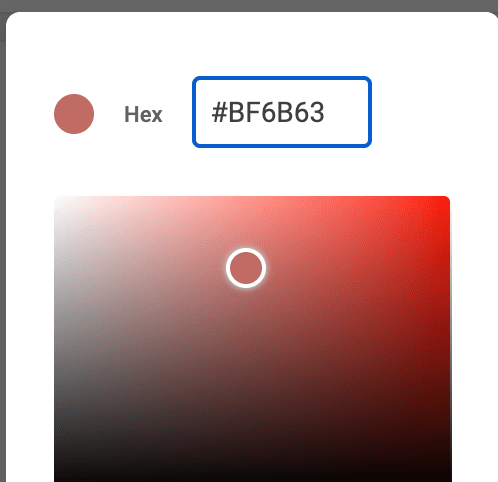
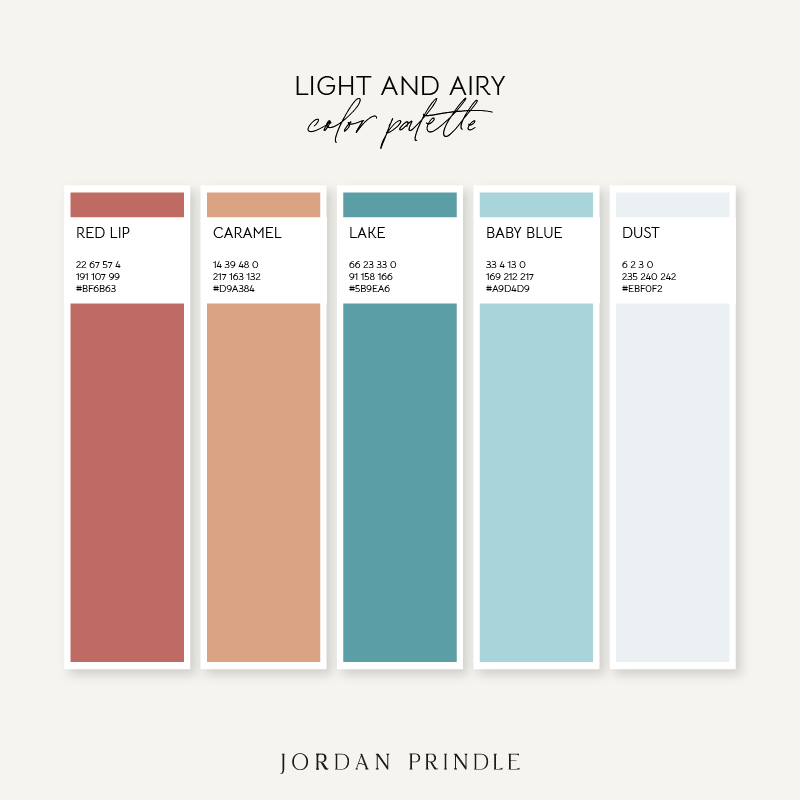
3. We are using a color palette that provides us with a hexidecimal code.
We are going to type this code into the custom color paint bucket tool. It’s at the bottom.

4. Repeat steps 1-3 until you have 6 tabs and the last box should cover the remaining space.
You can click on the tabs and go to format then format options and put a drop shadow on it if you want.

5. Now let’s put tabs or words on your flaps. I’ll put a tab, but you could also just put words. To make a tab, go back to the shapes menu and pick the second option, a rounded rectangle.
You can type in the rectangle, just double click on it. You can change your font by clicking on the box that says Arial.
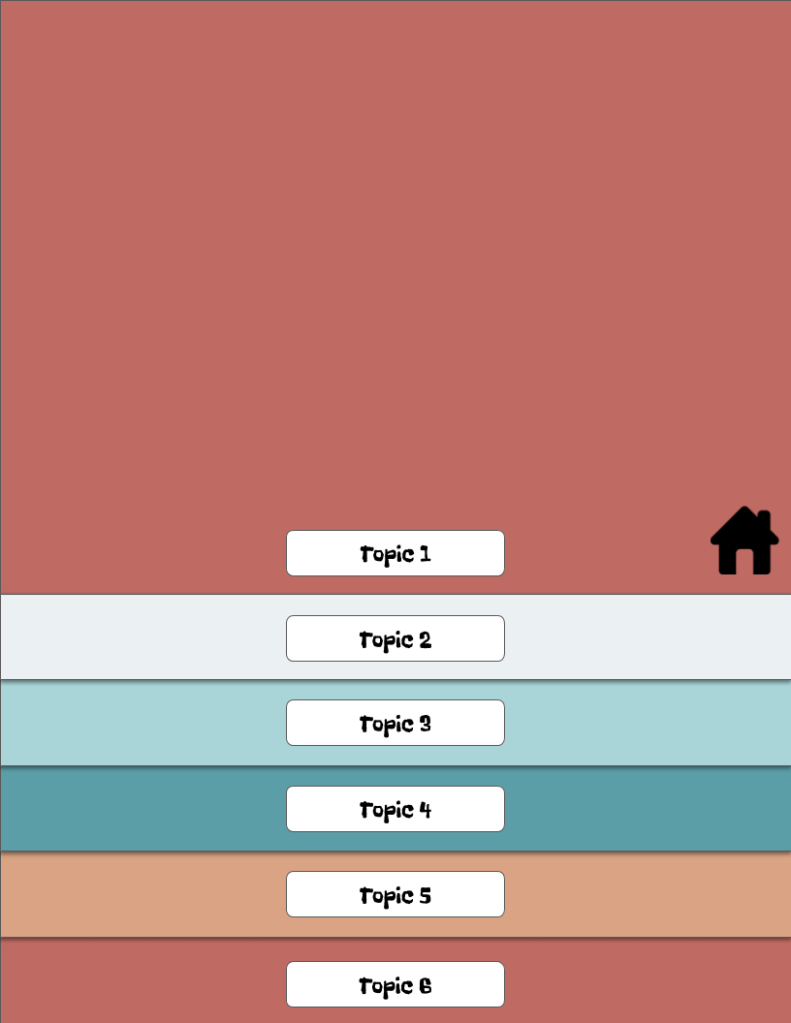
6. Now the magic happens. On the left, right click on the the slide and duplicate slide. You are going to delete the top big box. Then take the next box and drag it to the top, making it the big box.
You will also want to put a home icon or the word home on this slide. We will eventually link this so it goes back to the main slide.
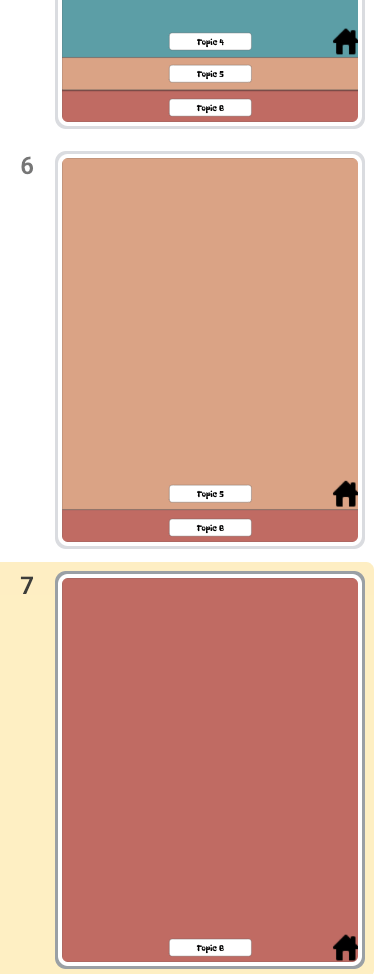
7. Repeat step 6 until you have a slide for each tab.
8. Ok, I said step 6 was where the magic happens, but that’s not really true. This is where the REAL magic happens. We are going to link our slides so when you click on Tab 2 it takes you to Tab 2.
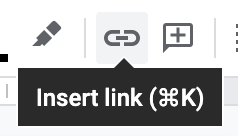
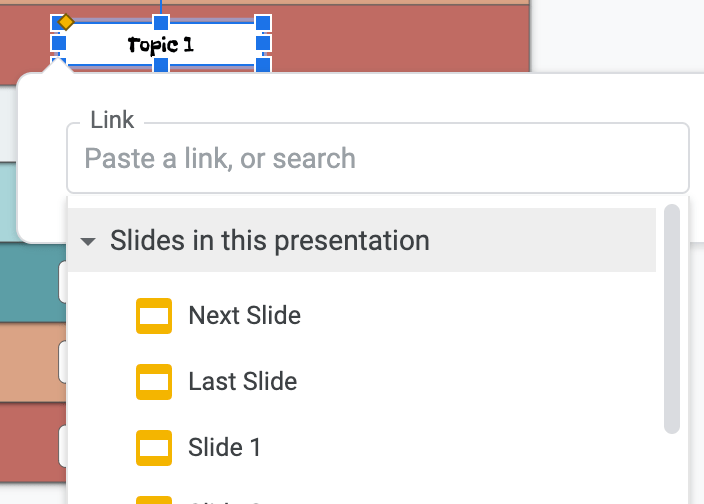
Go back to slide 1. Click on the Topic 1 (whatever you named this), then click the LINK button in the toolbar.
Click the slides in presentation arrow and select slide 2.
Repeat this with each tab, selecting that slide that you want the tab to go to.
You can do this for EVERY slide, OR you can copy all the linked tabs on the first slide and paste them onto the other slides.
You will also click the house (or word home) and link it back to slide 1.
Your template is ready to use. Type in your information OR have your students write on paper and insert a screen capture of their work. This is how I intend to use these.
The five topic template is also available on Slides Mania. Yay! It’s in the By Edu for Edu category. If you use this, let me know. I love to see what people create! You can shout out on Twitter @MandiTolenEDU and use #MMNS and #infinitelyteaching hashtags.
Head over to the Make Math Not Suck Blog to see a flipbook for Geometry in action.