It’s that time of year. Time for a snow storm of technology ideas, templates, and resources. This is the fourth year I’ve shared activities and I’m loving the Winter Tech Blizzard theme.
I hope you check back daily to see what has been shared. Each day a new snowflake will appear on the Winter Tech Blizzard site. Click the snowflake and it will take you to the ideas for the day. Click the image below to join the fun.
Enjoy!
If you are interested in previous years, I linked them all in THIS post.
Do you have a lot of links you need to access every day in your classroom? Same! You can create a custom Google Chrome homepage with links to sites you need to visit. This post will give an example in Canva and Google Sheets and show you how to turn the homepage button on in Google Chrome.
Canva
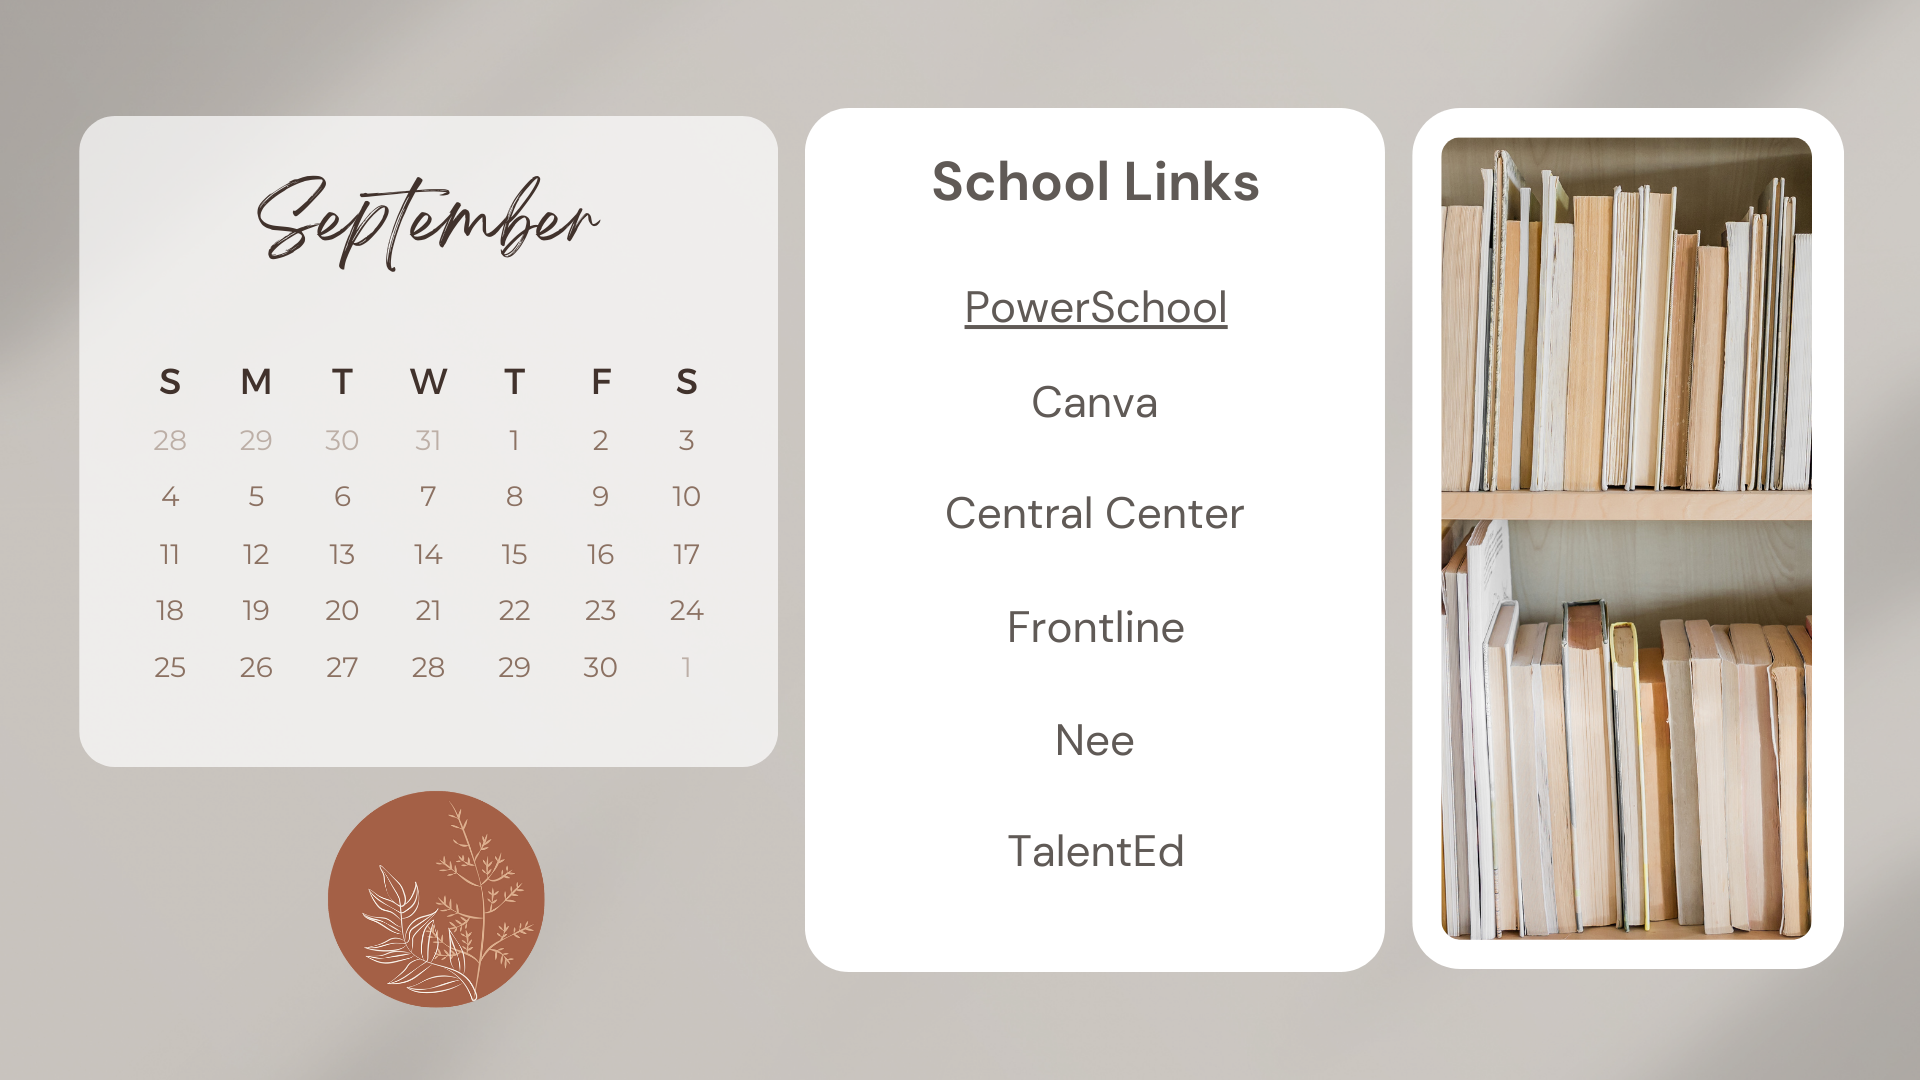
In Canva you can design a desktop and include your links. Here is an example of one I created. I searched for presentation with calendar and picked a template I liked. I altered the presentation to fit what I wanted on the page. You do have to update the calendar each month but you can search for the calendar you want and paste it in.
You will need to get the link to add to your Google Chrome Homepage. Go to share – more – then select website. Select presentation then click open website. Copy the URL at the top in the address bar. Now you can proceed to the Google Chrome section below.
Google Sheets
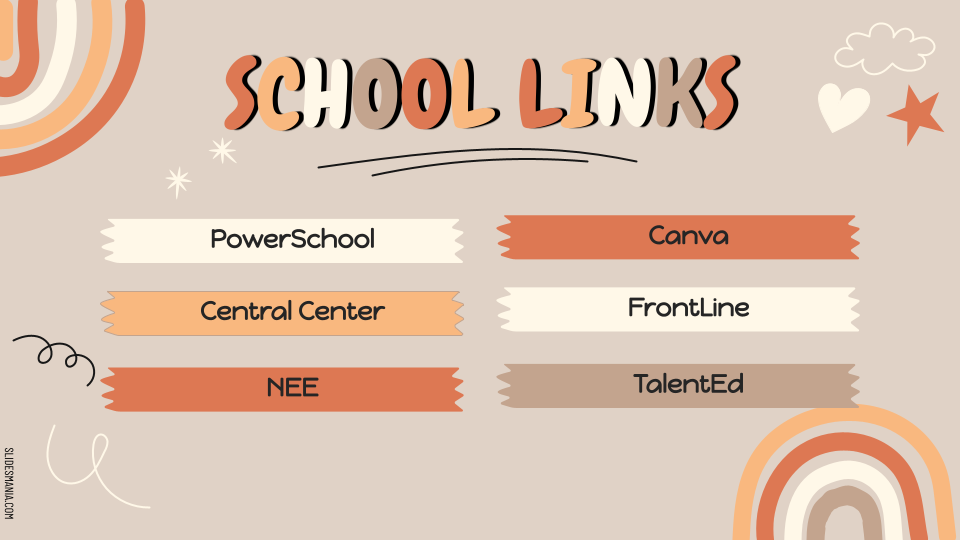
You can create your own design or use a template. This is a template from Slides Mania that I altered to fit what I wanted to display. Add in your links and then you will go to File and select Publish to the Web. Grab the link and move to the next section.
Google Chrome Settings
Now we need to setup your homepage. You likely to do not have the homepage button set in Chrome.
When Google Chrome is open, go to the three dots in the top right corner by your account photo and click on settings. Select appearance, click show home button and then paste the URL you copied earlier.
Now open a new tab and click the home button near the URL address box at the top.
Your new homepage with clickable links should appear. You can update this page in Canvas or Google Slides anytime and the updates will appear the next time you load your page.
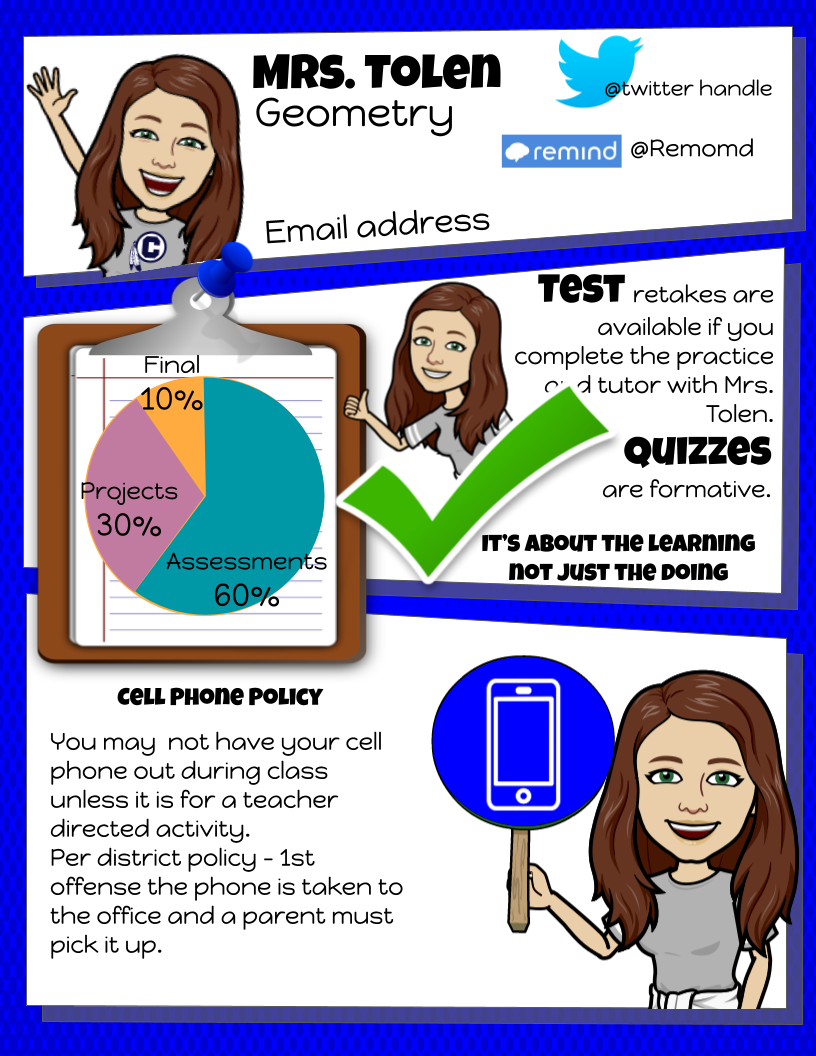
My class syllabus has changed a lot over the years, as have my teaching practices. As we get ready for our students to arrive, I thought it would be a good idea to share some fun and creative ways to create a class syllabus.
Canva
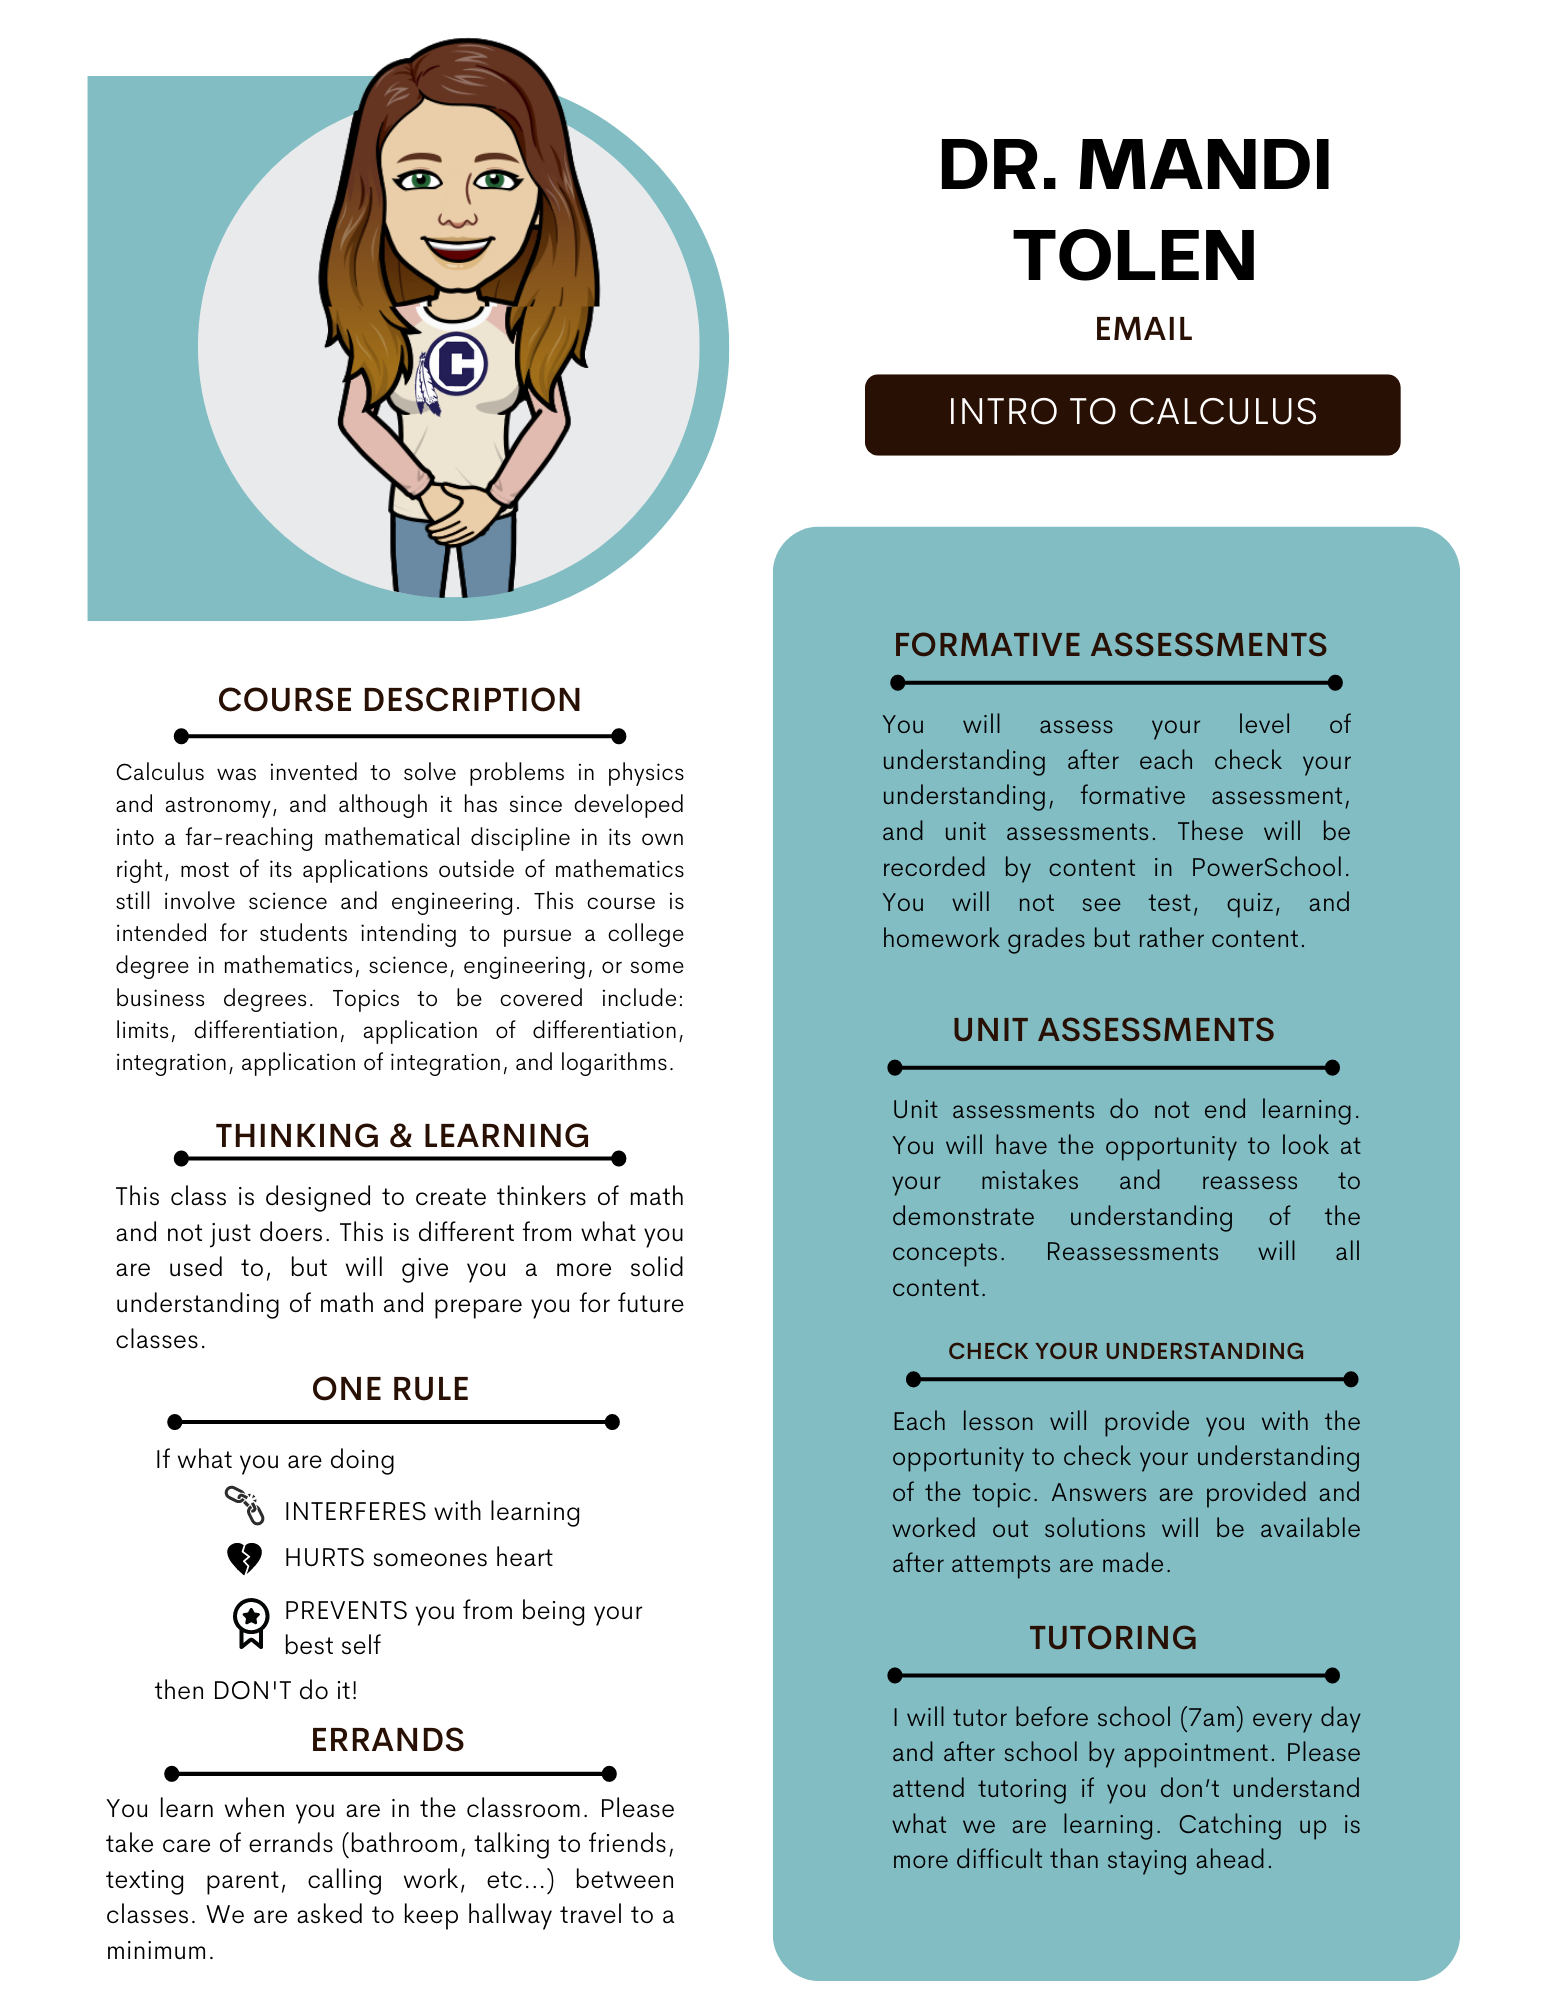
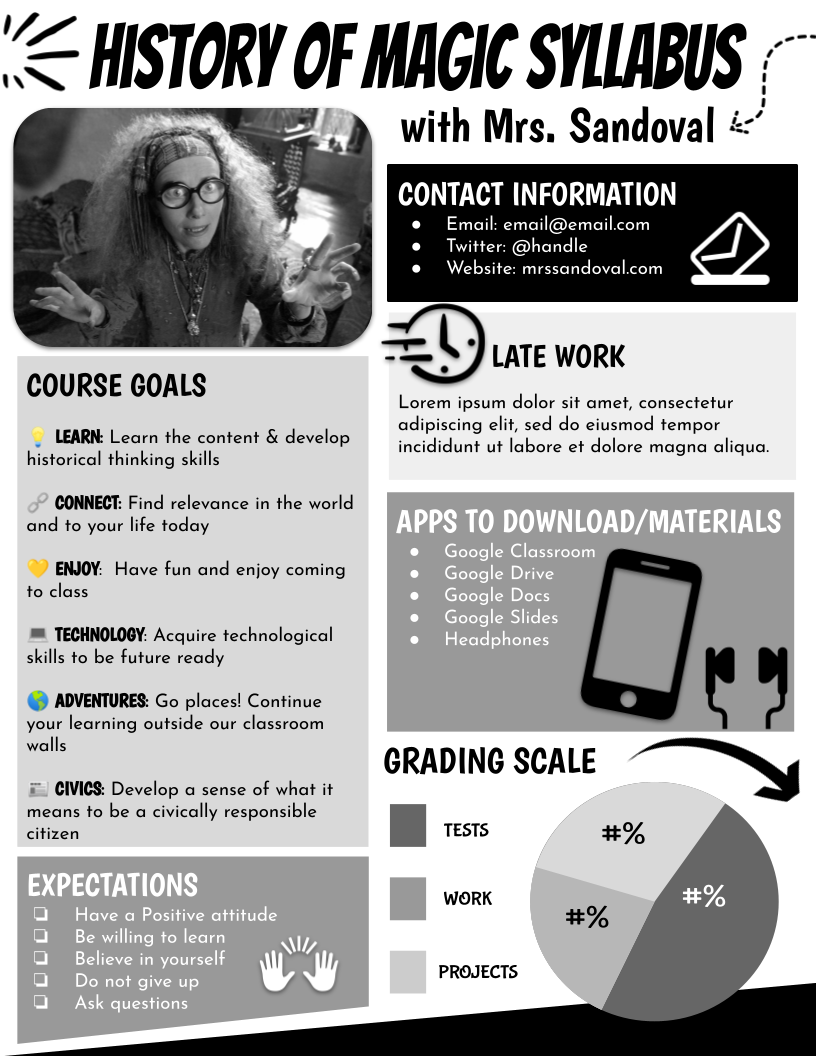
I will be using Canva for my class syllabus this year. I’m using one of their resume templates and there are soooo many to choose from. I had this idea while updating my resume at the end of last year, then I saw @historysandaval share hers and I knew I was on to something.
I used Brown & Beige Minimalist Elegant Web Designer Resume template and changed it up to fit my color and style choice. I may make the font bigger and do two-sided like in previous years, but I love how it looks!
Here are some additional examples of Canva syllabi from Twitter:
I have used Google Slides for the last few years. Here are two templates I have used often. You can go into the theme builder section and change the colors.
I’ve also seen some people share their Syllabus in Google Slides making it linkable. This wouldn’t work for me because my students don’t get their devices until the end of the first week so I have to print mine. If you don’t need to print, then this could be a great option.
Drawing
Here is an example from Amanda Sandaval that I have not used, but saved because it’s a super fun idea. She used Google Drawing to create it, but you could also use Google Slides.
I can’t take credit for this slide deck. It was inspire by a TikTok from @Heidi. She also has her original version available on TpT if you want to purchase it from her. Mine is slightly different but includes the same apps.
I like this activity because it give students a choice from day one. It also allows students to explore using Google Slides, an app we use A LOT in class.
Click the link above to view and make your own copy. You may alter it in anyway to fit the needs in your classroom. Also, go give @Heidi a follow on TikTok. She shares some great ideas.
I have many other get to know you activities you might want to check out.
I was presenting with GoldEDU on animated stickers when a participant asked about selecting new Google Fonts. I have posted about fonts before and included some Googley goodness but I thought an installment 2 might be in order.
Google has sooooo many fonts to choose from AND you can download them to use in Microsoft or other applications if you want to.
Select New Fonts
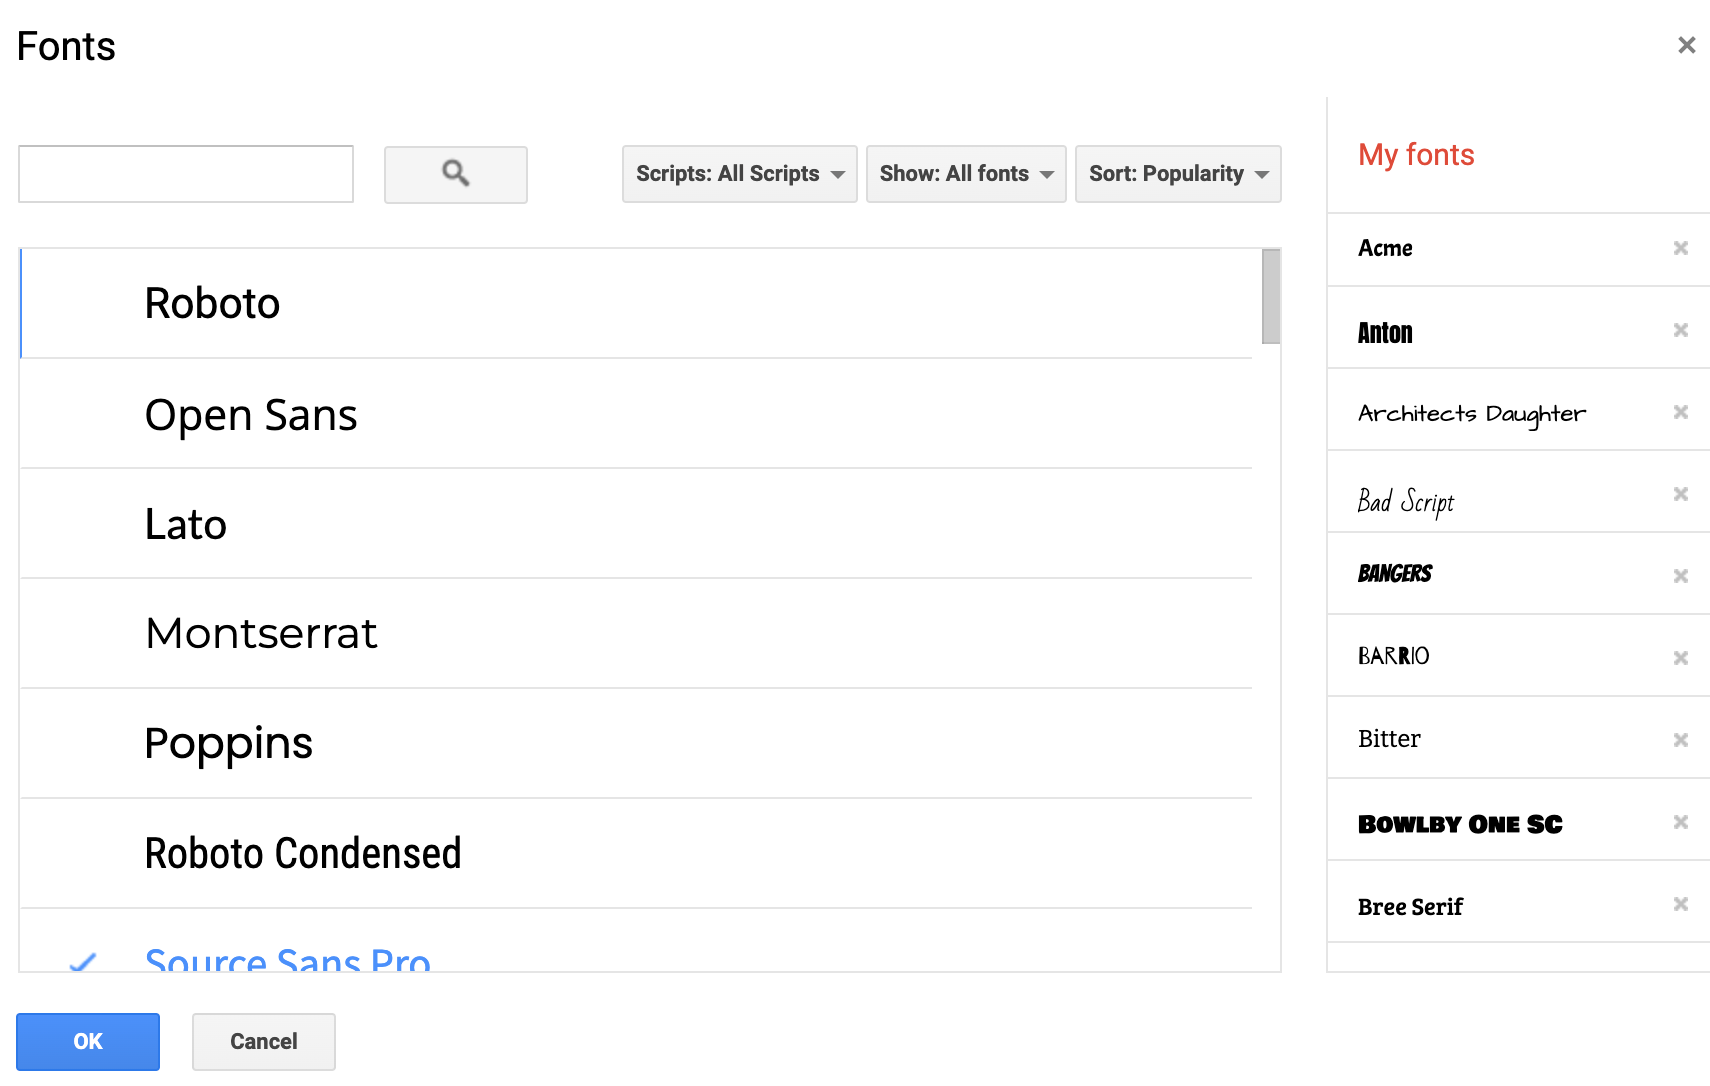
So how to find all these fonts you ask? When using a Google Doc, Slide, or Sheets, you can select the default font at the top. It’s usually Arial unless you have changed it (I’ll explain how later). The fonts selected by Google are at the bottom and your recently used fonts are second. What I’m interested in is MORE FONTS. Let’s click that.
This brings us a new screen with so many options. On the left you will see all available fonts. On the right are the fonts you have currently selected. You can click the x if you don’t want them on that main page anymore.
You can search for a font if you know a name, but I usually don’t. I like to search All fonts and then narrow it down to display or handwriting.
Once you find a font you like, click on it and it will add it to your font list on the right. When you are happy with your selections, click ok.
Set a new default
In Google Docs, you can set a new default font. Kasey Bell with Shake Up Learning has a great tutorial on how to do this.
In a Google Slide, you go to Theme Builder under the view menu. On the very top slide you can change the fonts to whatever you choose.
In Google Sheets follow these step:
Click on Format.
Click on Theme.
Click on Customize.
Select Font you want as standard.
Click on Done.
Do Fun Things
What can you do with these fun fonts? Make fun things!
Here is a slide I put together showing some fun font combinations using Word Art.
Here is another fun font tutorial in Google Slides or Drawing.
Insert – Word Art – and type the word you want.
Select the font you want and resize to fit.
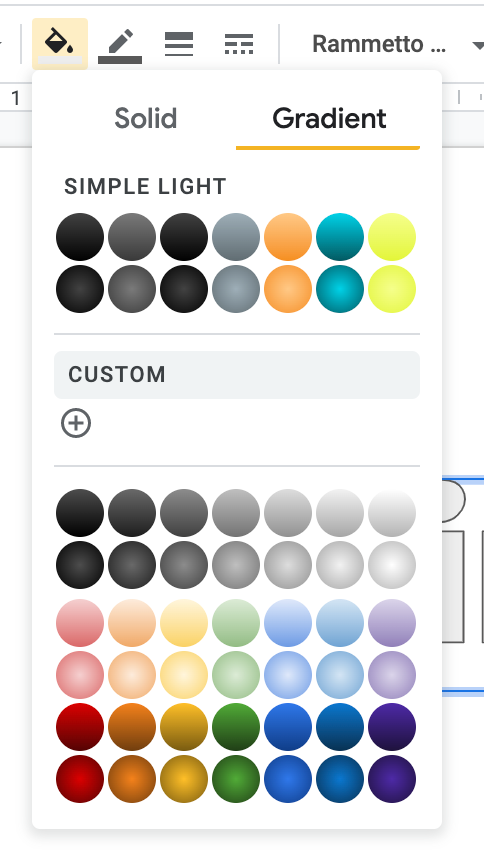
I’m going to select a custom gradient. Click on the paint bucket tool and select gradient and then custom.
4. Now you have a custom gradient filled image.
5. Command or control D and duplicate this. We will change the fill color to white, the border color to white and the border size to 16.
6. Click format options in the top right of the tool bar and select drop shadow. I changed the transparency to 100%, the angle is 45, the distance is 13 and blur radius is 0. Play with it and see what you like.
7. Now right click and move the white background to the back and you have some fancy word art for your Google Slide. If you do this in Google Drawing you can download it as a PNG and use it with a transparent background in anything that takes images.
Have fun with your fonts while I enjoy my Spring Break!
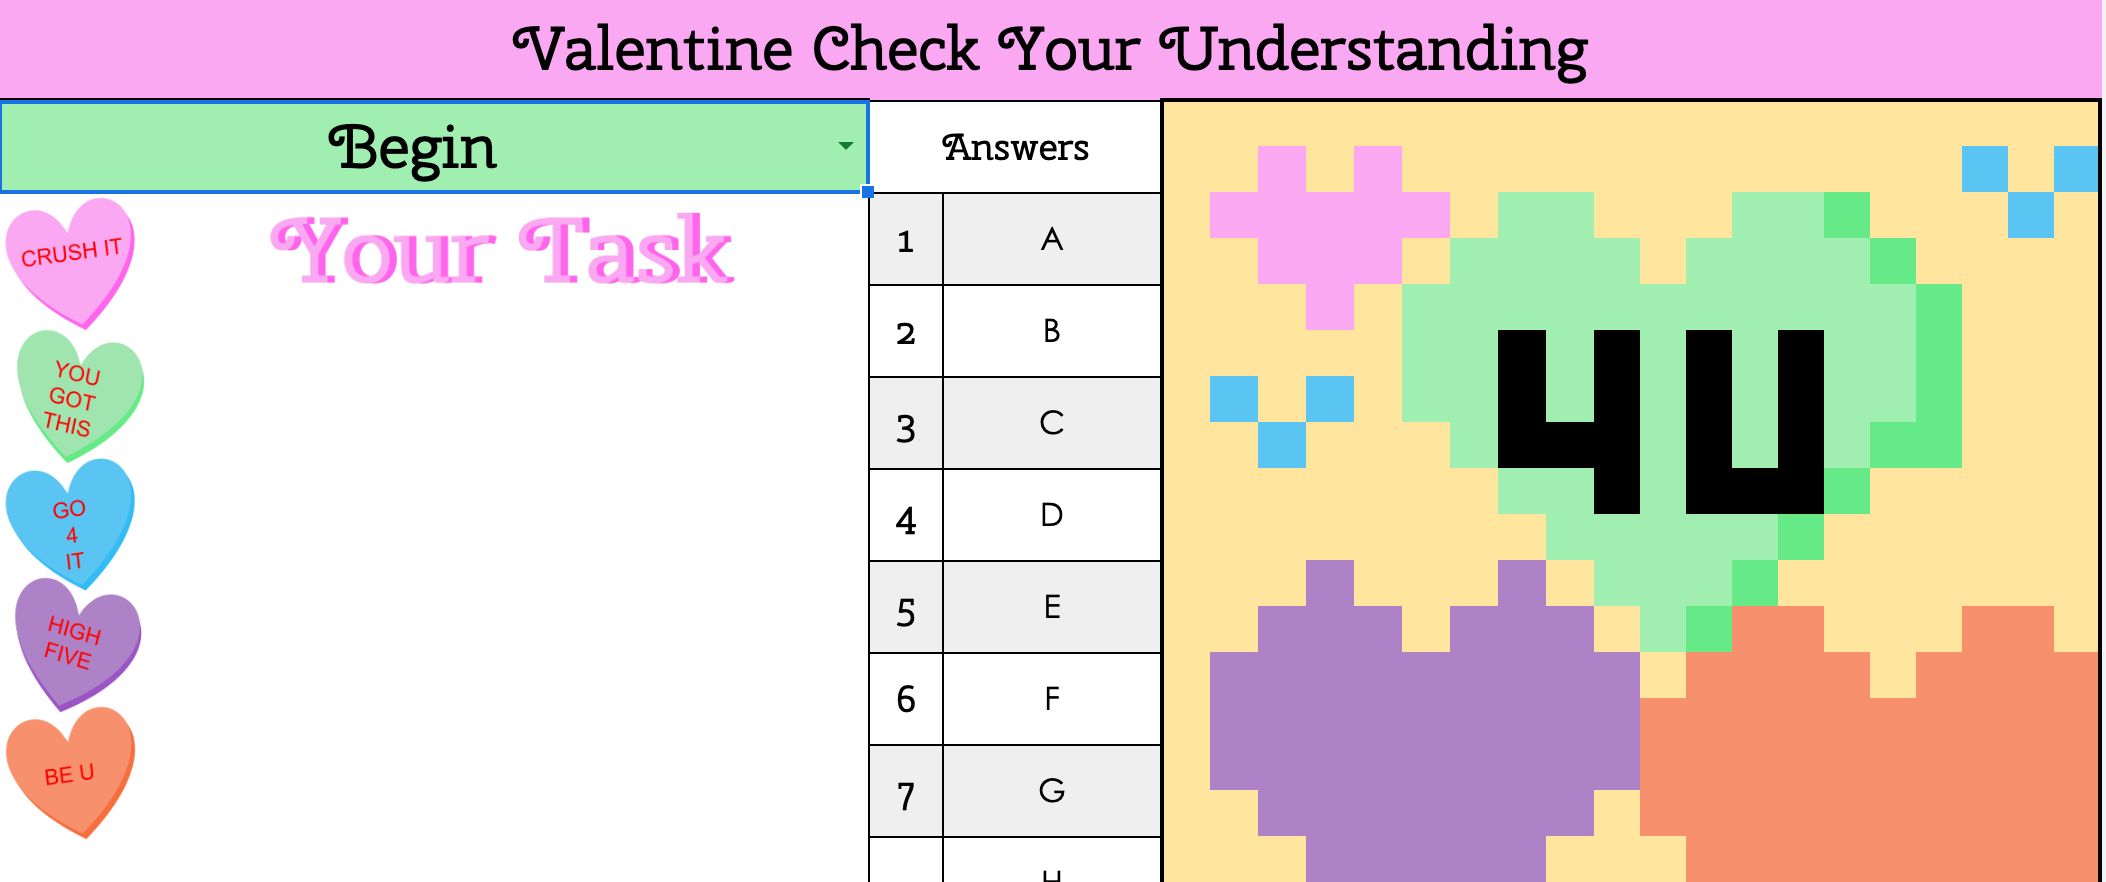
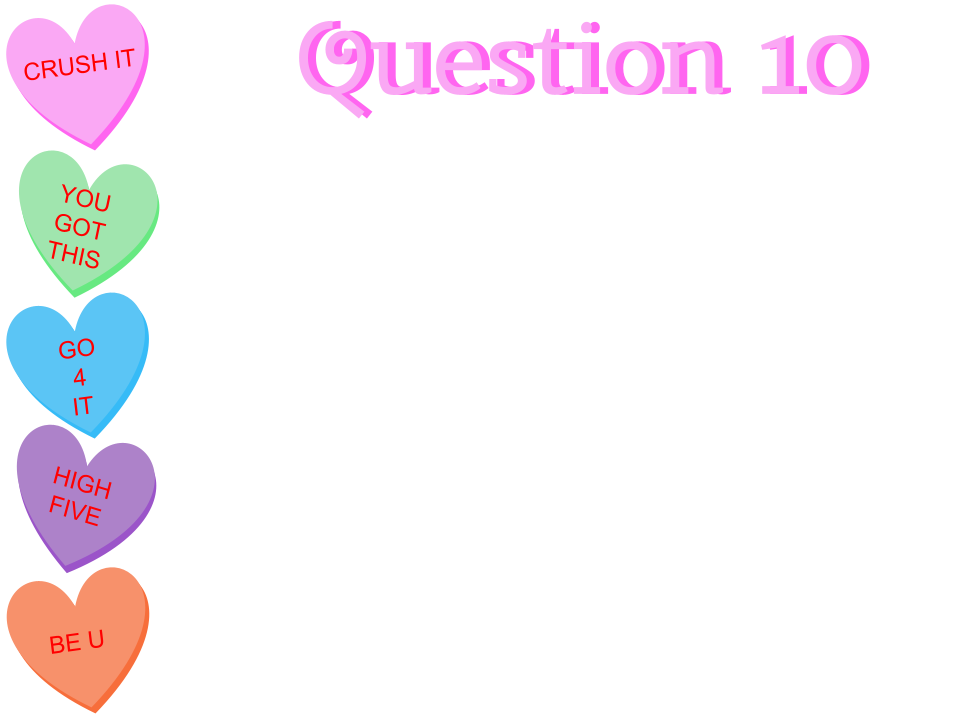
I created a Valentine pixel art review for you to use. You can create your question slides with the template provided below and insert the images into Sheet 2, change the answers on sheet 2 from A, B, C, to your answers (I usually change the answer color on sheet 2 to white so it’s harder to find) and then send a copy of it to your students.
A new AMAZING update recently happened in Google Slides. Before this update, you needed an extension to go full screen and still interact with your slides. Why would you want to do this, you ask? Well Google Slides is my favorite tool for creating interactive draggable learning activities. The filmstrip, and other stuff just gets in the way.
Well, Google listened and now I’m sharing this awesomeness.
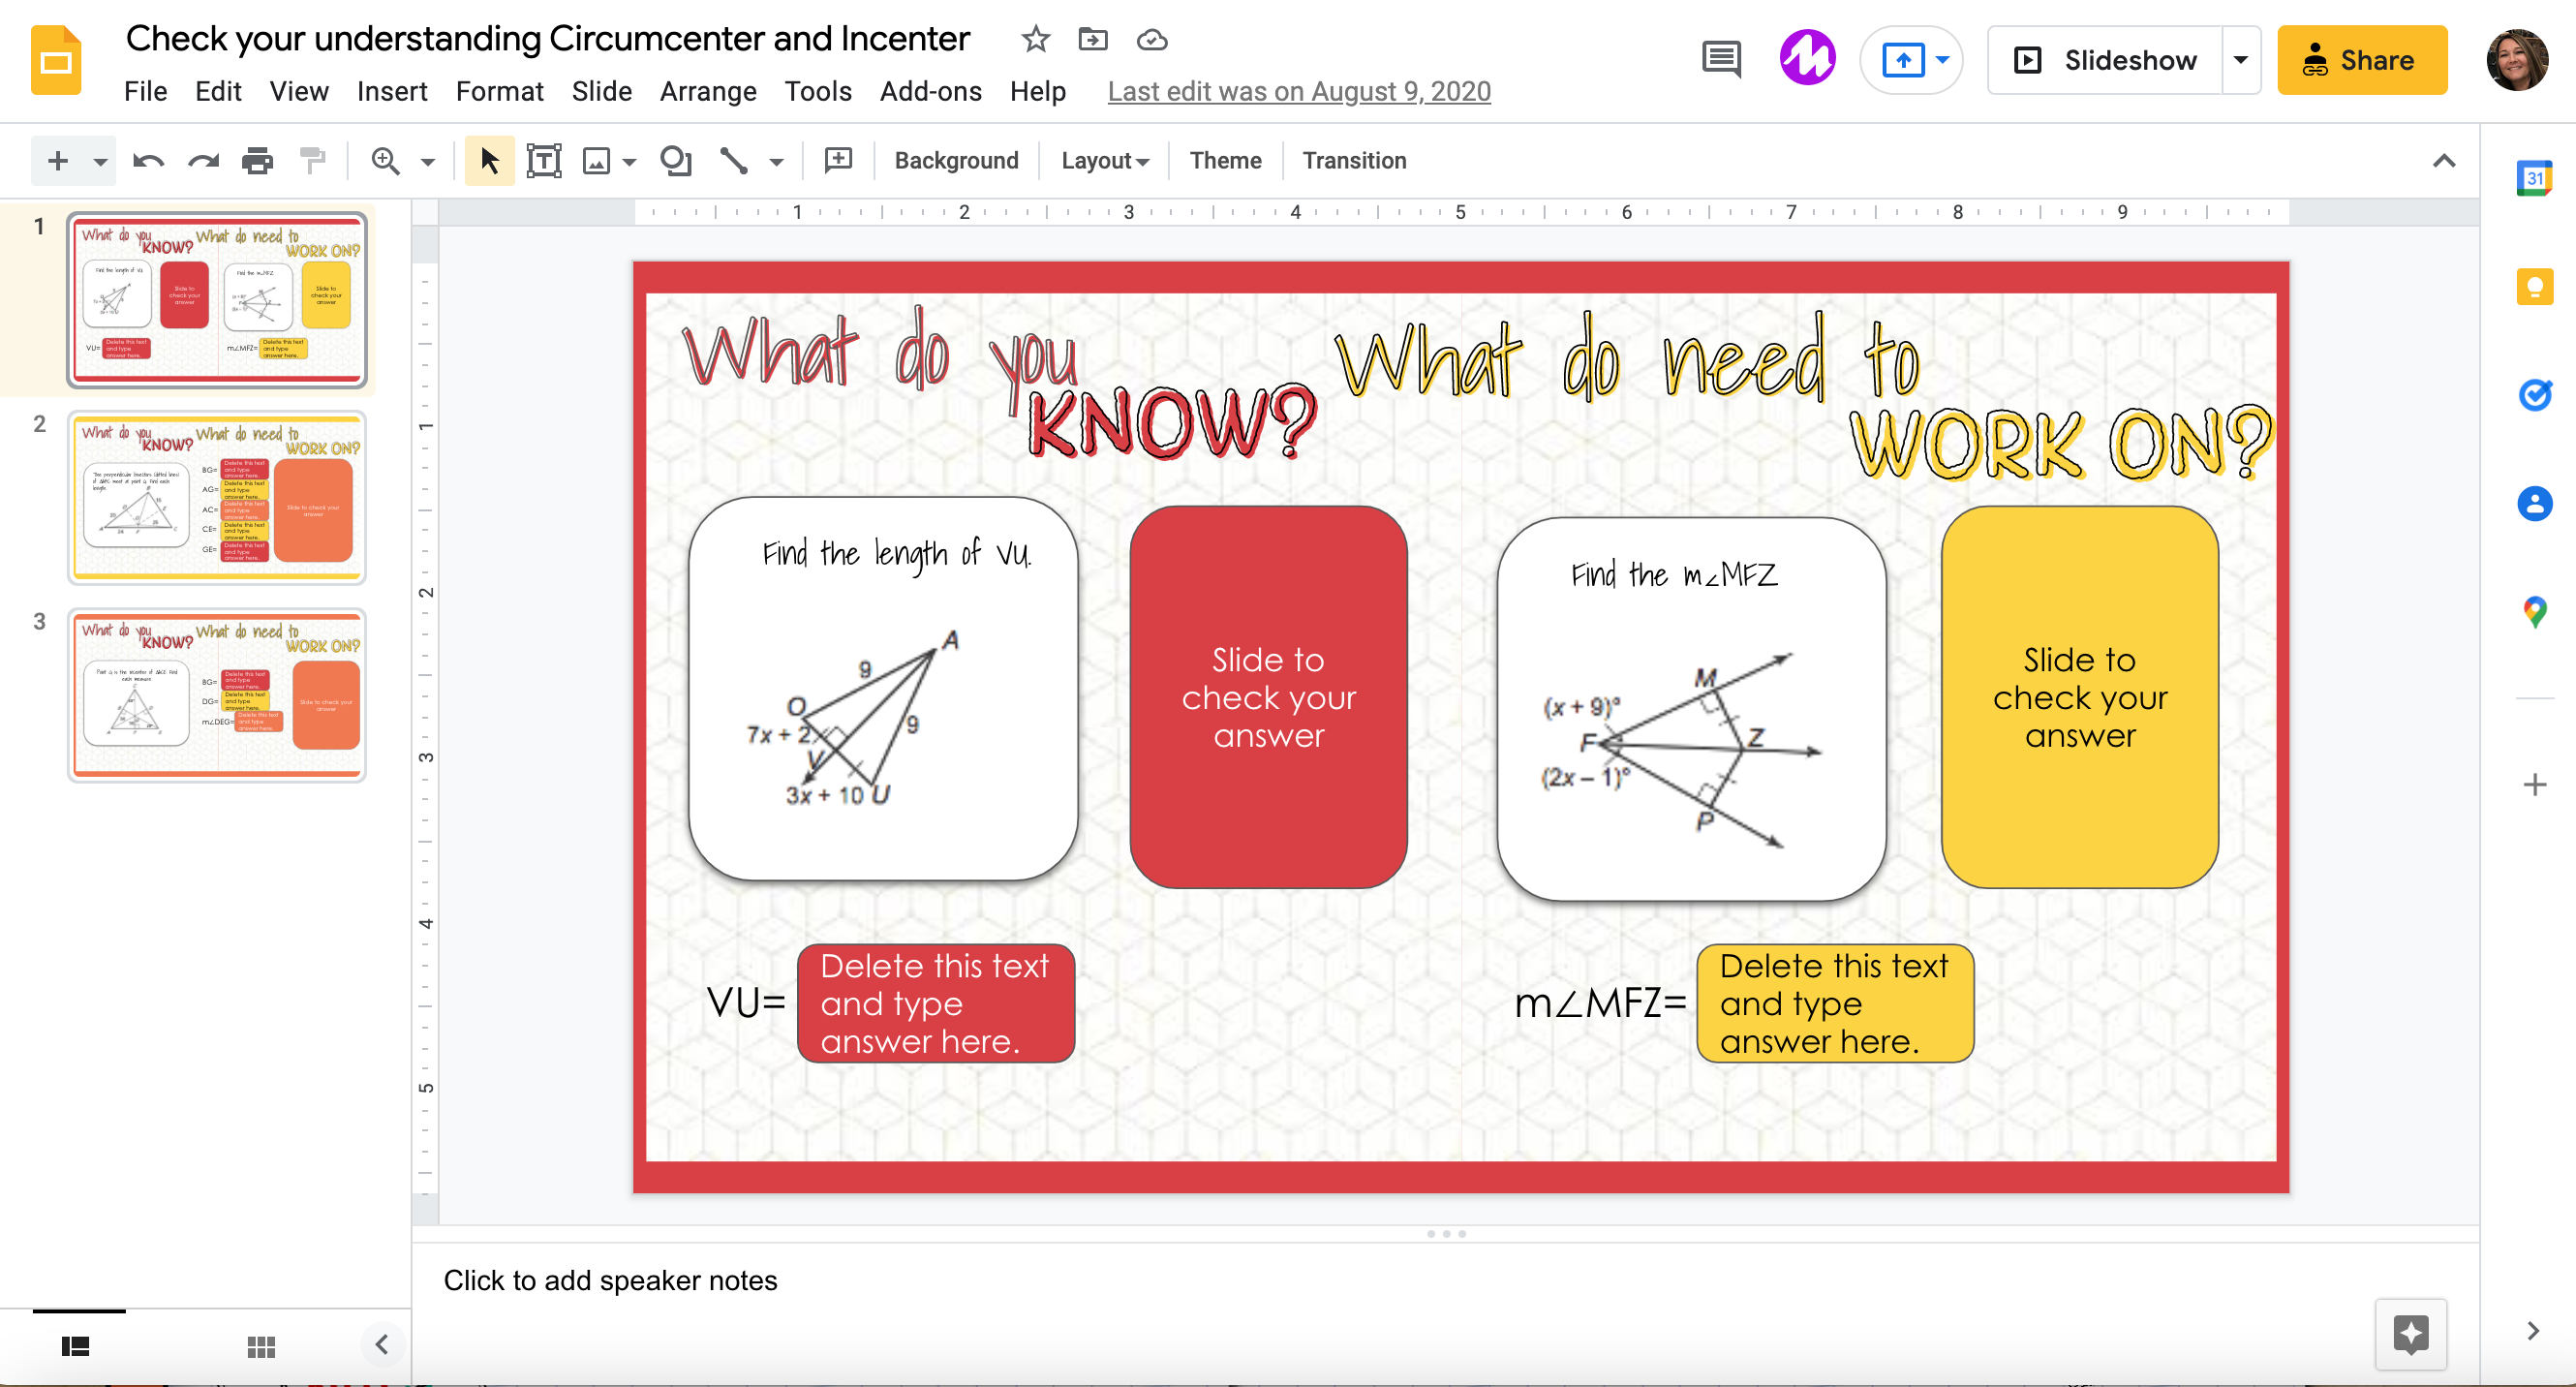
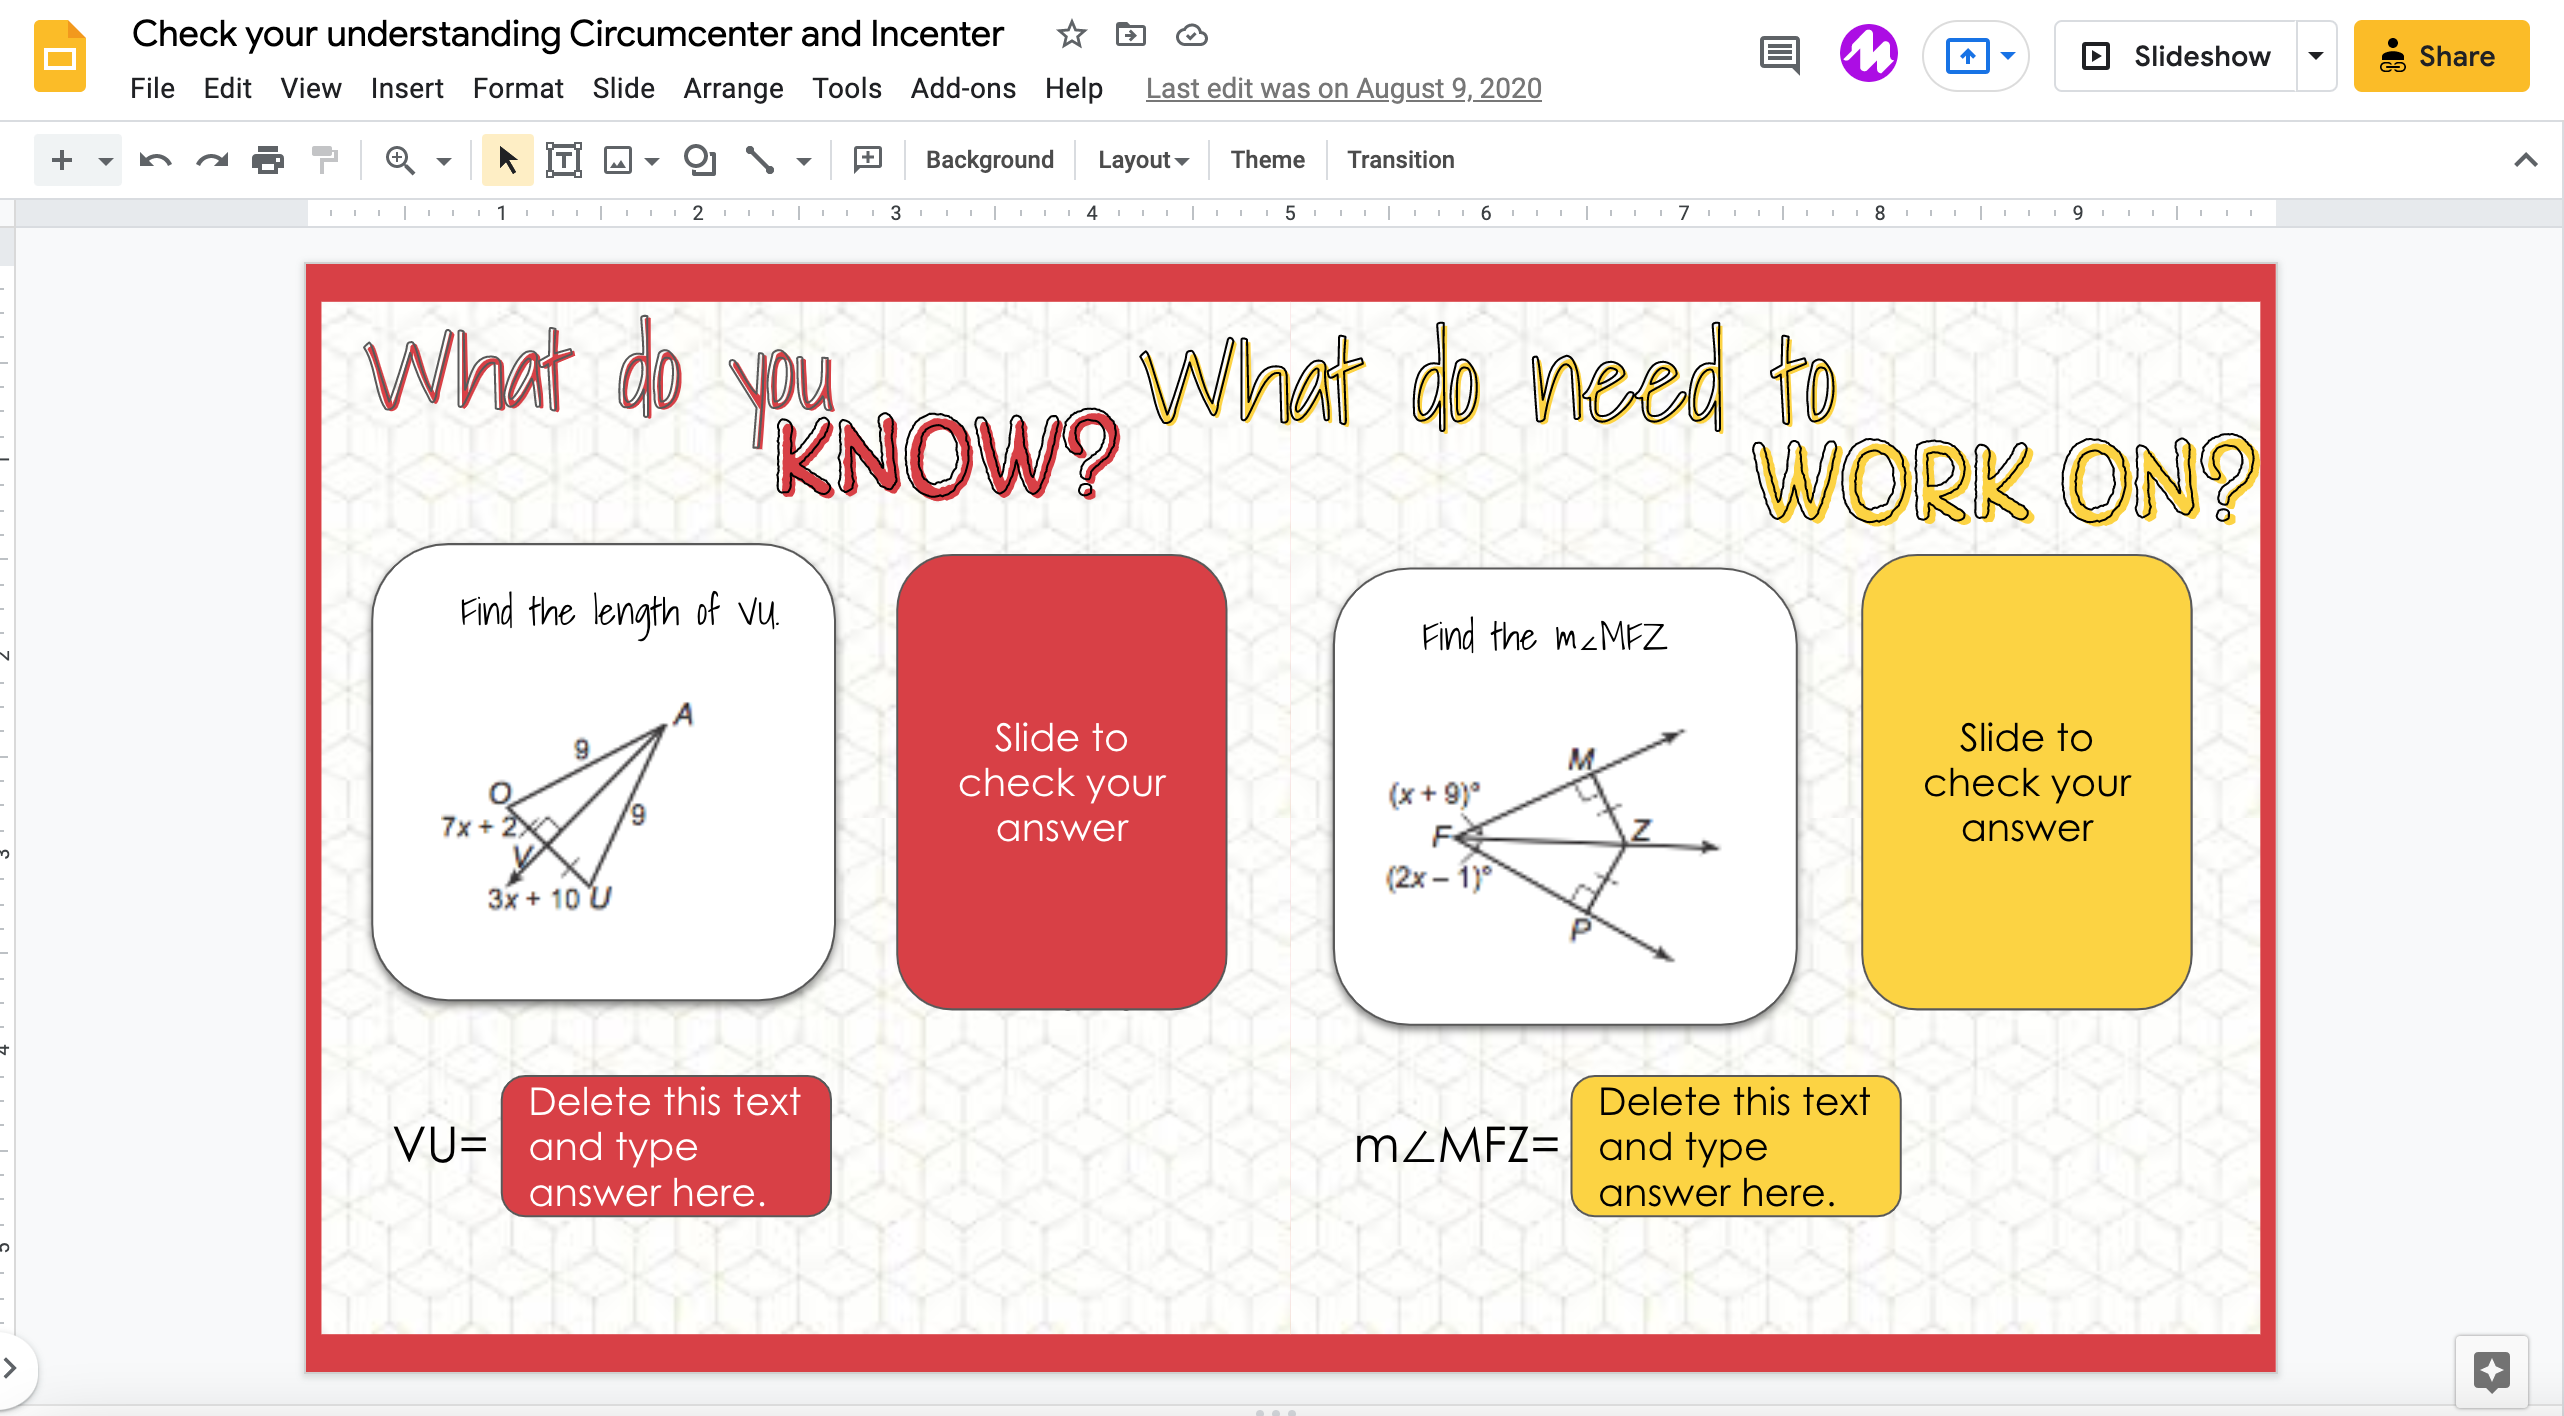
Below is a typical view of an interactive activity. Notice the speaker notes at the bottom, the menus at the top, and the filmstrip on the left. This is all taking space that could be used for your activity.
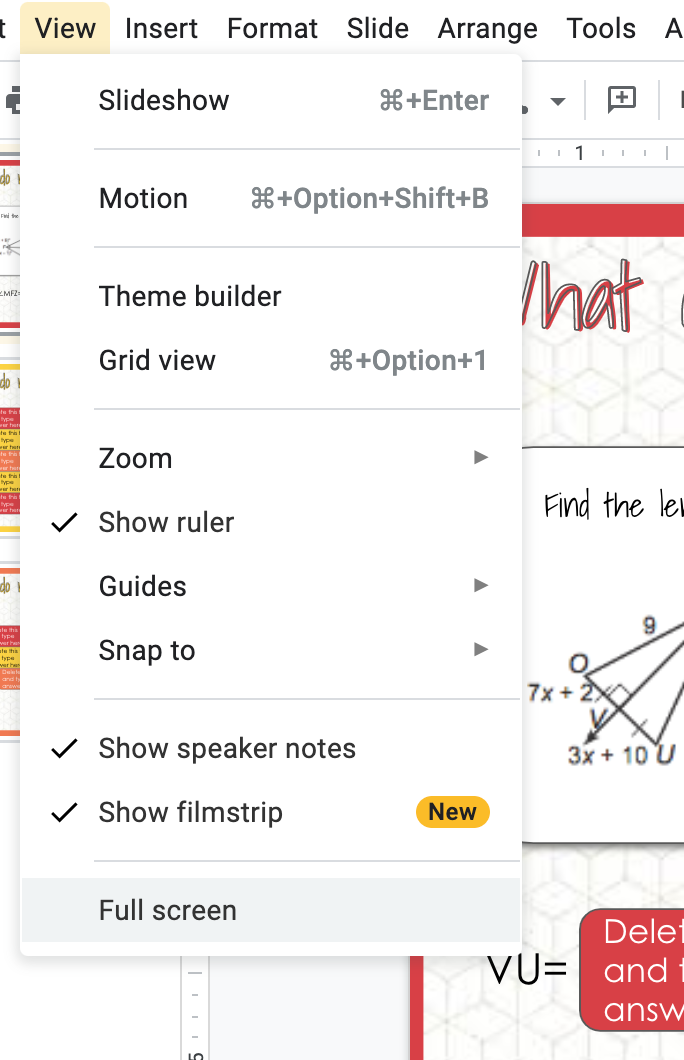
First, we will go to View and we will unclick show speaker notes and show filmstrip. This will make a HUGE difference.
Look how much workable space we have now.
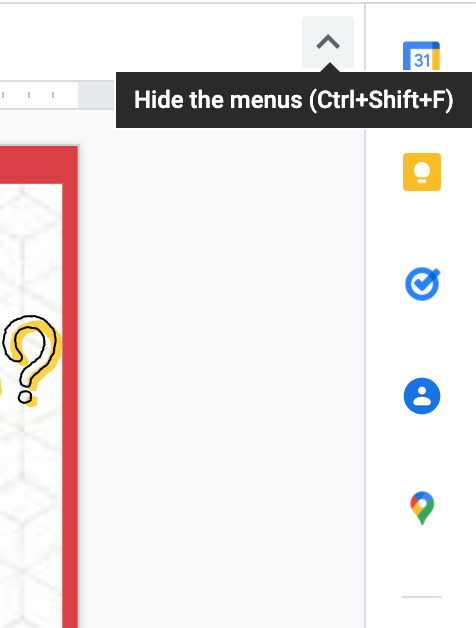
Now, you could be SUPER happy with the new workspace and call it a job well done! But… you can also minimize the menu to create a little more room.
In the top right corner, click that up arrow. It will do exactly as it says, hide the menu. When you want it back, simply click the arrow again and it will reappear.
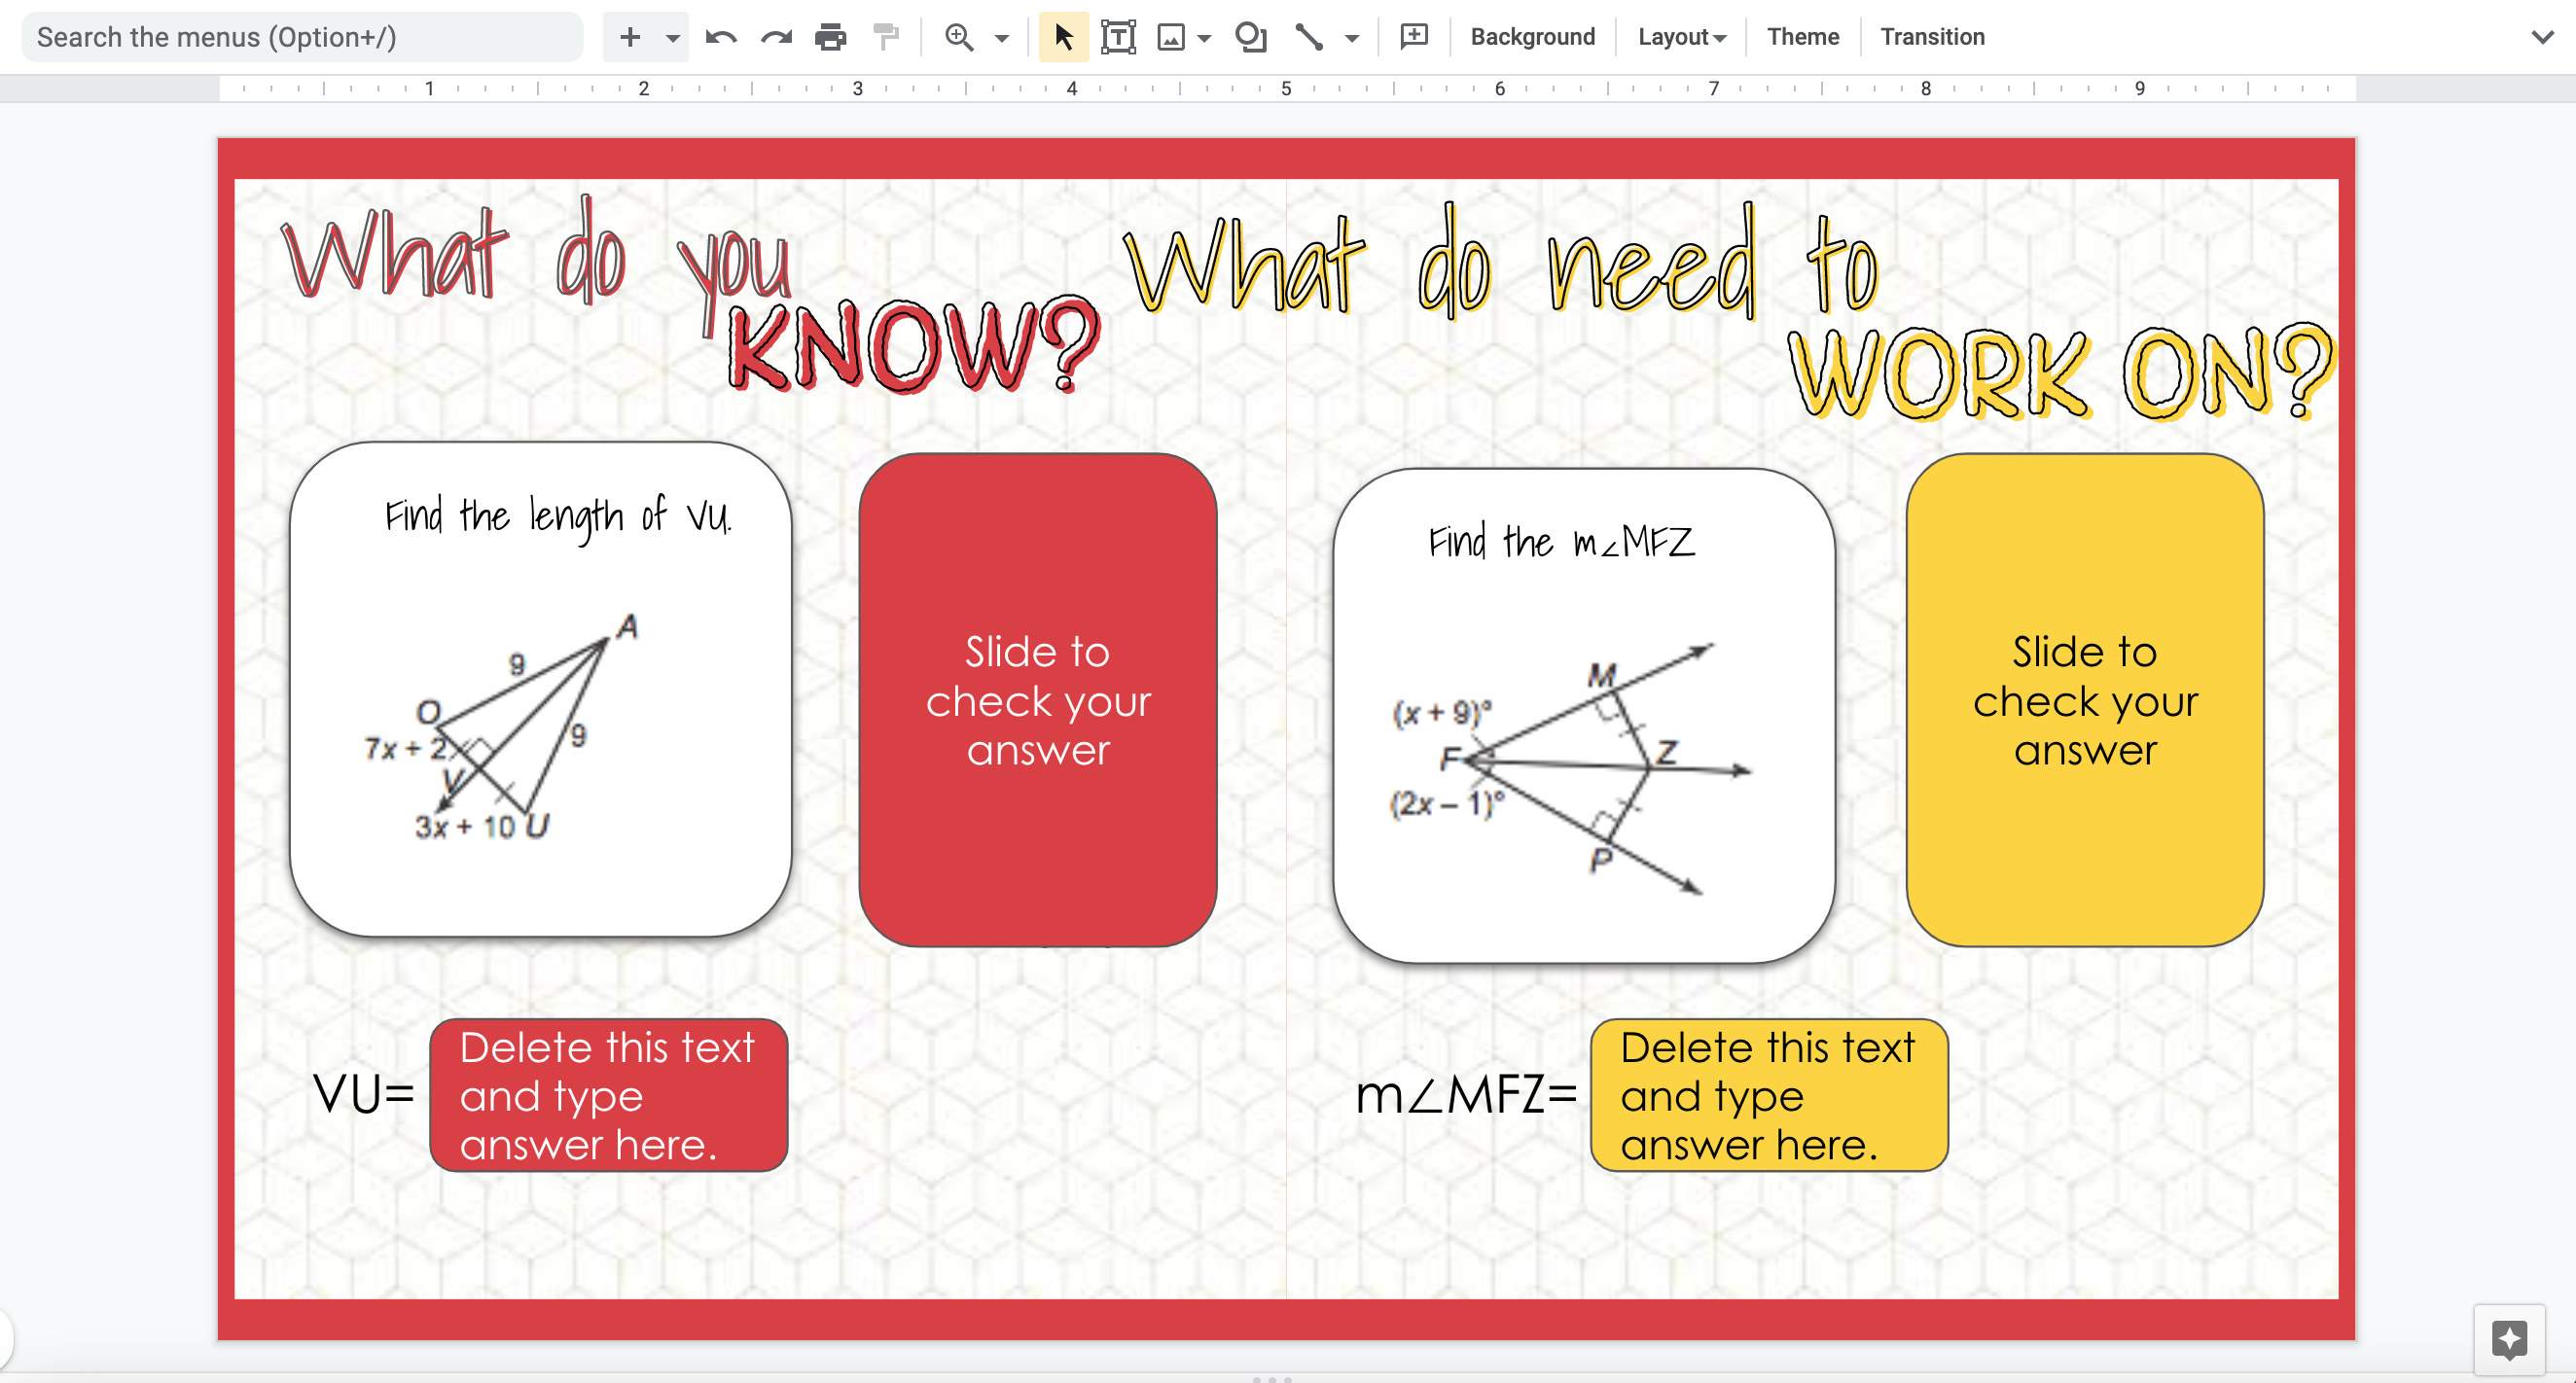
Now that is a nice workable space for your draggable activities, and just with a few clicks. I know, what an amazing update!
If you REALLY want an extension to do this for you, you can install Full Screen Interactive. Until this recent update, it was a wonderful solution.
**UPDATED** Now includes sorting into groups of 3 for a Thinking Classroom
Have you ever handed out playing cards at the door to sort your students into groups and then watch as students switch cards to make sure they are in the same group? No? Well maybe it’s just me but it happened often.
To fix this problem, a long time ago (like 10 or 11 years) I created sorting cards using a large index card and glued stickers, playing cards, words, equations, graphs, etc., randomly in groups of 4. I had a deck of 34 so I needed 9 sets of 4 for everything I used. I had 4 sets of 9 equations, 4 sets of 9 graphs, 4 sets of 9 coordinating stickers, and so on.
Once they were laminated, I would stand at the door and had each student an index card. They had NO IDEA what I would choose so there was no point in switching cards with someone. I usually randomly pick a person in the class to pick the sorting theme and then they group up by that theme. If I know I need to put certain students together or keep certain student apart, I will pick the theme beforehand and make sure to give those certain students the card I want them to have.
Yes, I know there are ways to sort digitally, but this is fun, and I can stand at the door and do hall duty while preparing to sort into groups.
Now, here is the sad news. My building had a severe black mold issue at the beginning of the year. Everything I had accumulated in my 20 years of teaching was thrown away. This included my prized sorting cards. Cards that had a lot of time and some money (for stickers and such) invested. We were remote and hybrid for much of the year so I didn’t recreate them.
A few days ago a colleague sent me a tweet from a person asking about these cards. I really thought I had shared this idea via blog post but couldn’t find it anywhere. I also have ZERO pictures of these cards. SAD SAD SAD!!! So I reached out and told the person I would make a digital version that could be personalized, printed, and laminated.
Print on a color printer (on lightweight cardstock if you can), fold in half and secure with stick glue, laminate, and sort your students. You can change out any of the images, especially the Bitmoji. Mine have a lot of math in them because I’m a math teacher. You may want to change that too. Be caution when adding food if you teach middle and high school. Google the meaning of the food before you use it. Eggplant parm might be a favorite but it will also get you some chuckles at the high school level. And beware when you google pineapple. Geesh!
image of one sorting card
If you use these cards, I would love to hear how it goes!
Did you know you can create a comic book and send it to Kindle or iBooks? You can! And… students LOVE, LOVE, LOVE to see their creations in e-book form.
The trick to creating these as e-books it to change Google Slide dimensions to 8.5 x 11. Each type of reader has a slightly different page size and I find this one works the best. It also makes it easy to print if you want to create an actual book.
Step 1
You need a comic template. I have shared my personal template below, as well as a template I altered from Sides Carnival. I have also shared original slide templates from Slides Carnival and Slides Mania. You can always let the students create their own too.
I also have a few non-comic type book templates if you don’t want to create a comic book. I mean, it’s less fun, but sometimes you need a traditional type book 🙂
Create your comic. There are many reasons you might create a comic in your classroom. We create them in my math classroom, and if we can use them in math, you can use them ANYWHERE! Image a cartoon in Chemistry where students take an element and write a story about it!
Download your Google Slide as a PDF and place that PDF in your Google Drive folder. On you phone or iPad, go to the file in Drive and click the 3 dots in the corner. Click open in and scroll to the end of your apps where is says more. Once you select more, Kindle and iBooks are both an option. It won’t work with Kindle if the file is too big.
Now you have you e-book on your device. Sit back and watch the excitement on your students faces and know you created an positive memorable learning experience for your students.
If you use any of these resources I would to hear how it worked for you and your students!
Students need help with organization. Let me say that again.
STUDENTS NEED HELP WITH ORGANIZATION!
I teach high school and many of my kiddos still need help with organization!
Here are a few things that I have done to help them along the way.
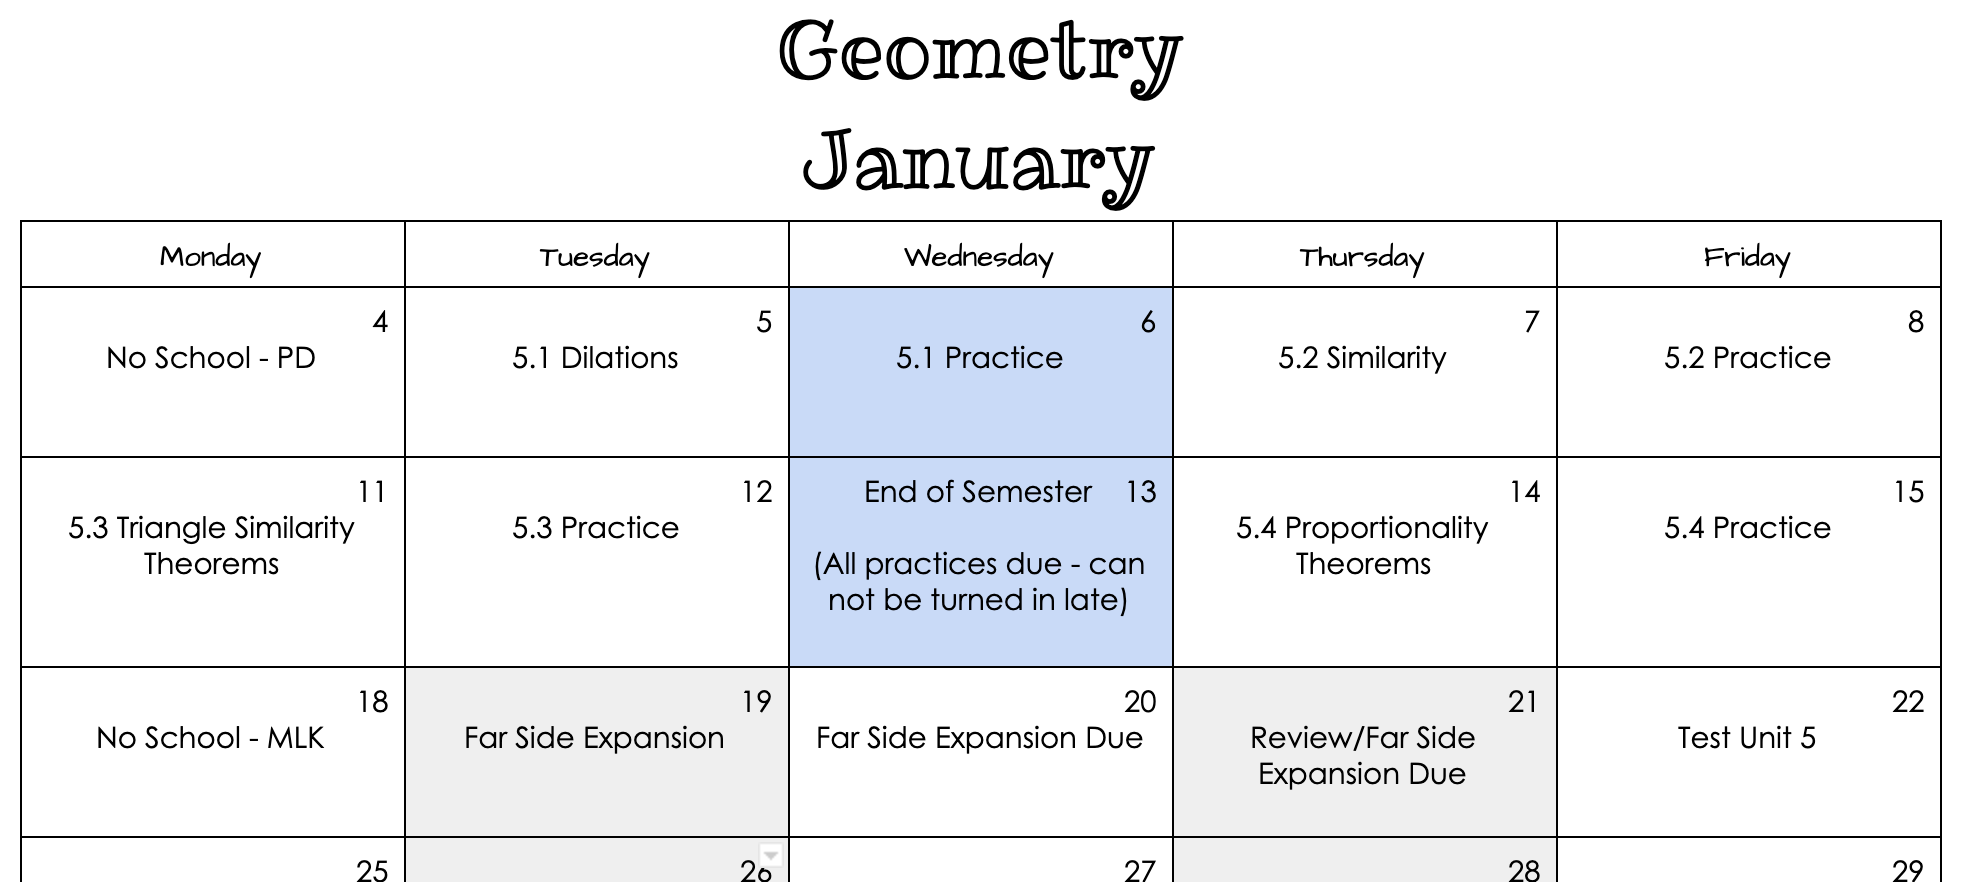
Google Docs Calendar
This is a year-long calendar where I add a new month at the top but students can see all of the previous months. You can also add hyperlinks to Google Classroom assignments or other activities you want students to see.
This is also helpful when you go to plan for next year. You have your whole year to look at. This calendar is easy to embed in Canvas or link to Google Classroom.
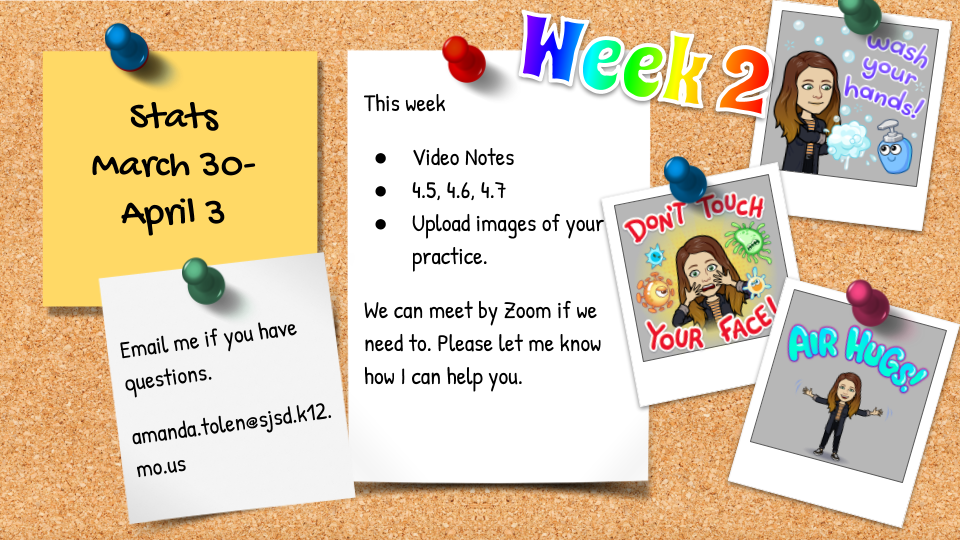
2. This week in
I started doing this when we were full remote. On Sunday evening I would post this in Google Classroom so students would have an idea of where we were going for the week. This is a Slides Mania template that I used.
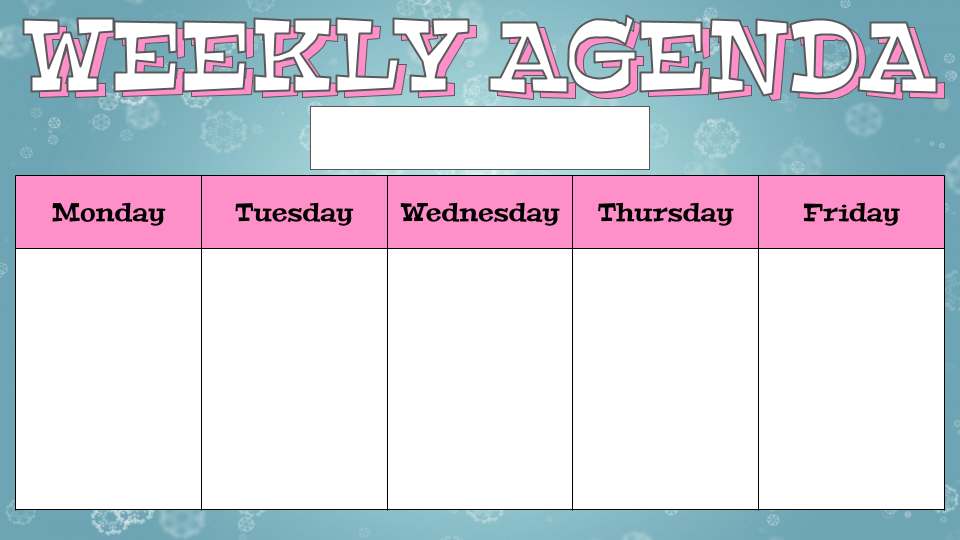
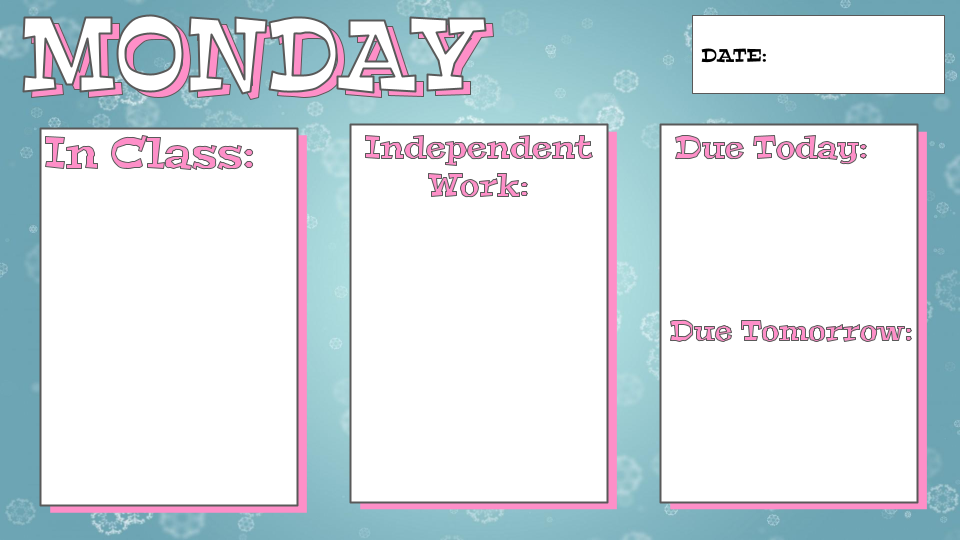
3. Weekly Agendas
Sometimes students needs daily reminders. You can have them complete this or you can complete it in advance.
I know there are many other ways to help keep your students organized. Google Classroom and Canvas both have build in calendars that you can use. You can also teach your students how to use these tools.