

I was presenting with GoldEDU on animated stickers when a participant asked about selecting new Google Fonts. I have posted about fonts before and included some Googley goodness but I thought an installment 2 might be in order.
Google has sooooo many fonts to choose from AND you can download them to use in Microsoft or other applications if you want to.
Select New Fonts
So how to find all these fonts you ask? When using a Google Doc, Slide, or Sheets, you can select the default font at the top. It’s usually Arial unless you have changed it (I’ll explain how later). The fonts selected by Google are at the bottom and your recently used fonts are second. What I’m interested in is MORE FONTS. Let’s click that.

This brings us a new screen with so many options. On the left you will see all available fonts. On the right are the fonts you have currently selected. You can click the x if you don’t want them on that main page anymore.
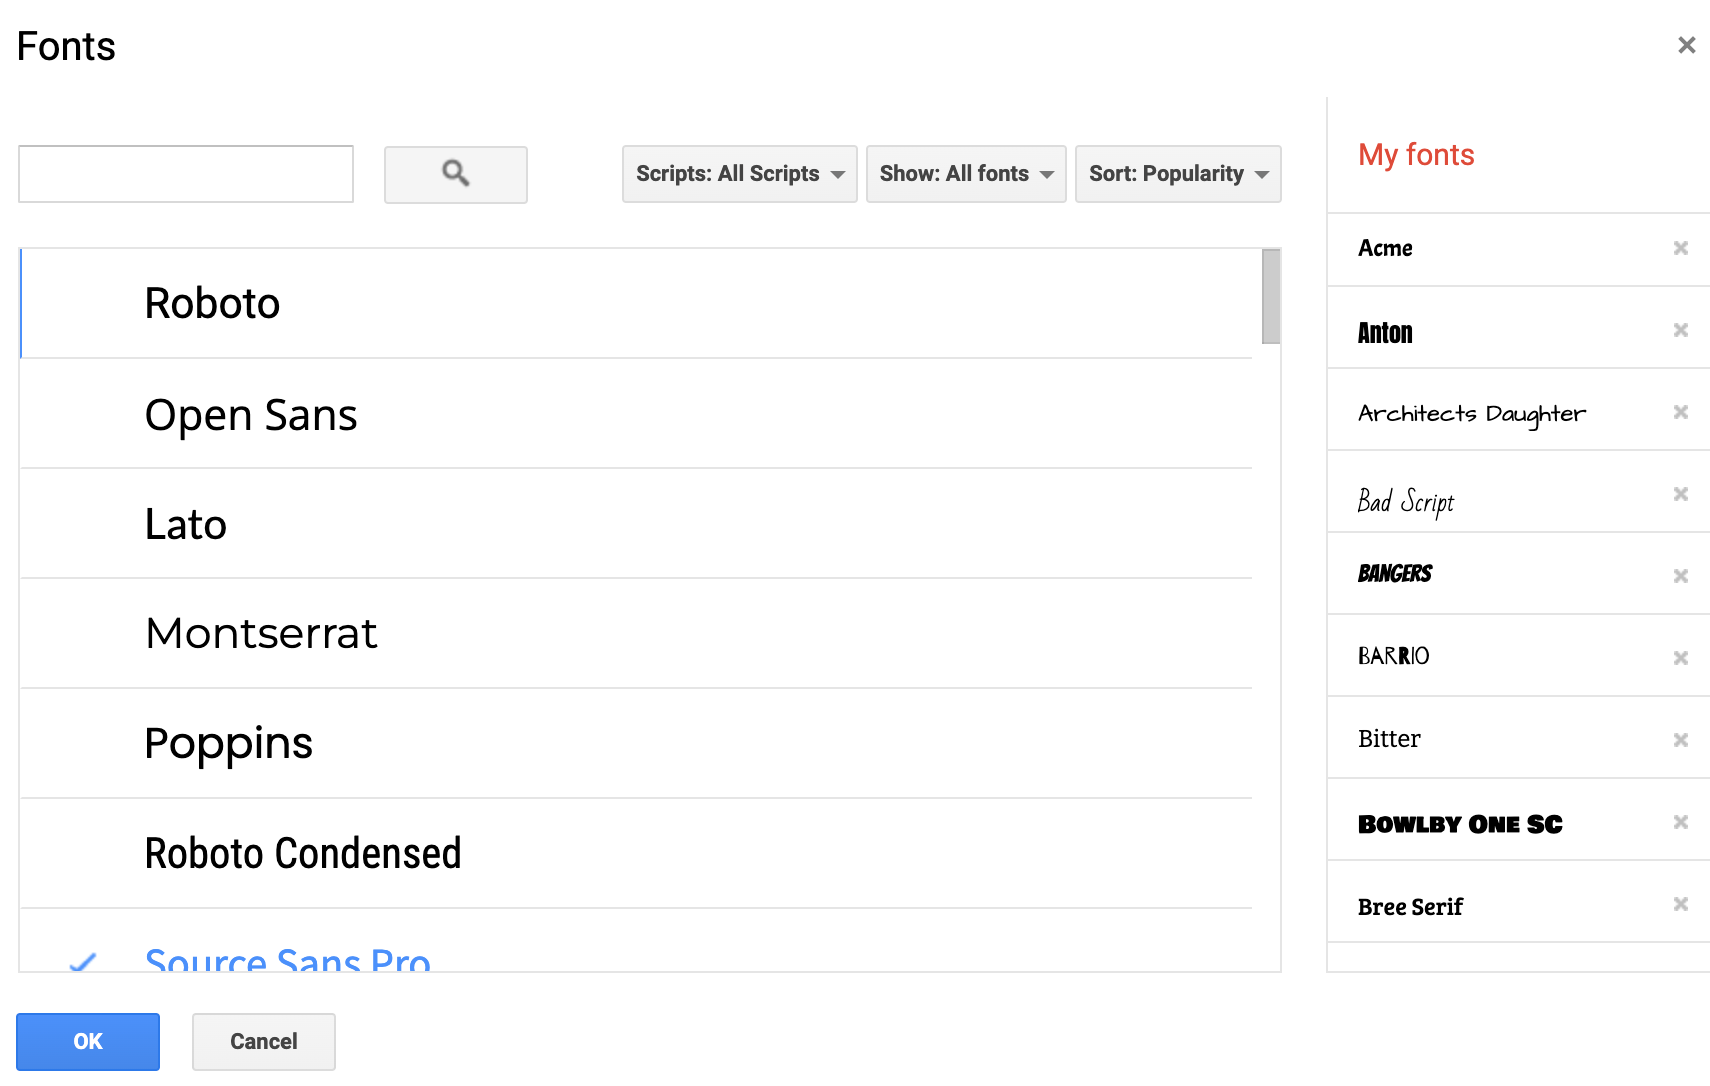
You can search for a font if you know a name, but I usually don’t. I like to search All fonts and then narrow it down to display or handwriting.
Once you find a font you like, click on it and it will add it to your font list on the right. When you are happy with your selections, click ok.

Set a new default
In Google Docs, you can set a new default font. Kasey Bell with Shake Up Learning has a great tutorial on how to do this.
In a Google Slide, you go to Theme Builder under the view menu. On the very top slide you can change the fonts to whatever you choose.
In Google Sheets follow these step:
- Click on Format.
- Click on Theme.
- Click on Customize.
- Select Font you want as standard.
- Click on Done.
Do Fun Things
What can you do with these fun fonts? Make fun things!
Here is a slide I put together showing some fun font combinations using Word Art.
Here is another fun font tutorial in Google Slides or Drawing.
- Insert – Word Art – and type the word you want.
- Select the font you want and resize to fit.
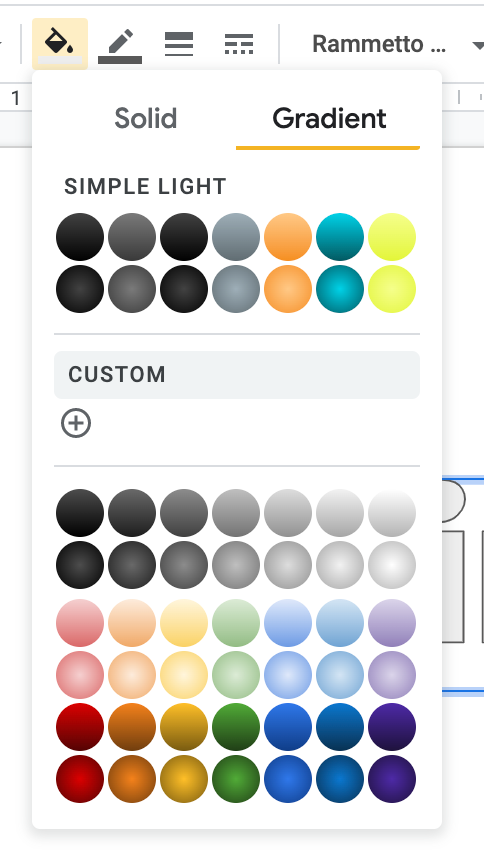
I’m going to select a custom gradient. Click on the paint bucket tool and select gradient and then custom.
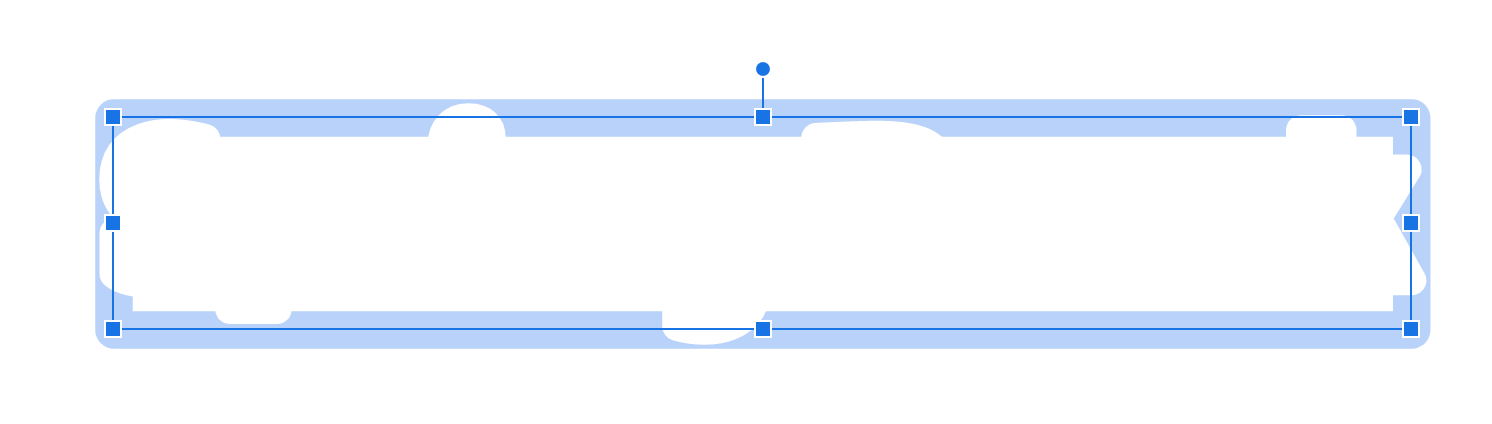
4. Now you have a custom gradient filled image.

5. Command or control D and duplicate this. We will change the fill color to white, the border color to white and the border size to 16.
6. Click format options in the top right of the tool bar and select drop shadow. I changed the transparency to 100%, the angle is 45, the distance is 13 and blur radius is 0. Play with it and see what you like.

7. Now right click and move the white background to the back and you have some fancy word art for your Google Slide. If you do this in Google Drawing you can download it as a PNG and use it with a transparent background in anything that takes images.

Have fun with your fonts while I enjoy my Spring Break!
