If you’ve been around me at all, you know my love for Bitmoji. There are many posts on my blog about using them in the classroom. One way I like to use my Bitmoji is creating the main image in a digital escape room. You can see an example of it here and here.
During this Covid-19 virtual learning time, I have seen many teachers take this idea and remake their classroom. What a fun way to give convey information to your students. The process to make a virtual classroom is the same as the one I use to make an escape room image.
There are video tutorials available. Here are links to a few that are good.
tutorial 1 tutorial 2
and this website has compiled many posted Bitmoji classroom images for inspiration.
I learn better with step by step instructions and not a video so I thought I would put together a quick tutorial for you.
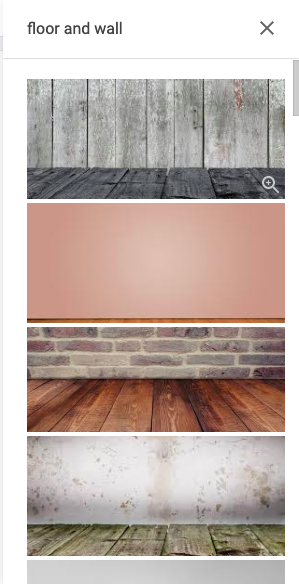
Before we begin, I want to emphasize the importance to using images with appropriate rights. Do not use images from a normal Google search. You might get images that are not free to use. In Google Slides, or Drawing you can insert image and do a search. These images are free to use. You can also filter your images in a regular Google search.

labeled for reuse: you are able to use these photos in any way that you’d like whether they be for commercial purposes such as your own website, or noncommercial purposes such as a school project.
reuse with modifications means everything above and you can remove the background, change colors, etc.
noncommercial reuse: you are able to reuse the photo as long as you are doing so in a place that doesn’t represent a commercial entity
Noncommerical reuse should give you the most options but if you plan to crop or change colors, choose with modification
Ok, now that the “Rules” have been covered, let’s make a scene.
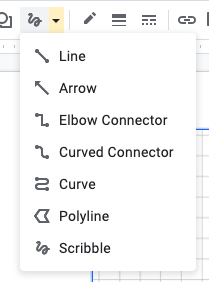
 Open Drawing, Slides, or PowerPoint
For Digital Escape Rooms, I build mine in Google Drawing, but you can also make them in Google Slides or PowerPoint. Google Drawing and Google Slides have the ability to embed them in a website or anything that accepts an embed code. PowerPoint does too if you save it to One Drive. You want something cloud based to keep your links active if you are using it to share information. Google Slides and PowerPoint will embed as an iframe but Google Drawing does not, so make sure you know what type of embed code you need. If you are using Google Sites to house your escape room, Google Drawing is what you want to use.
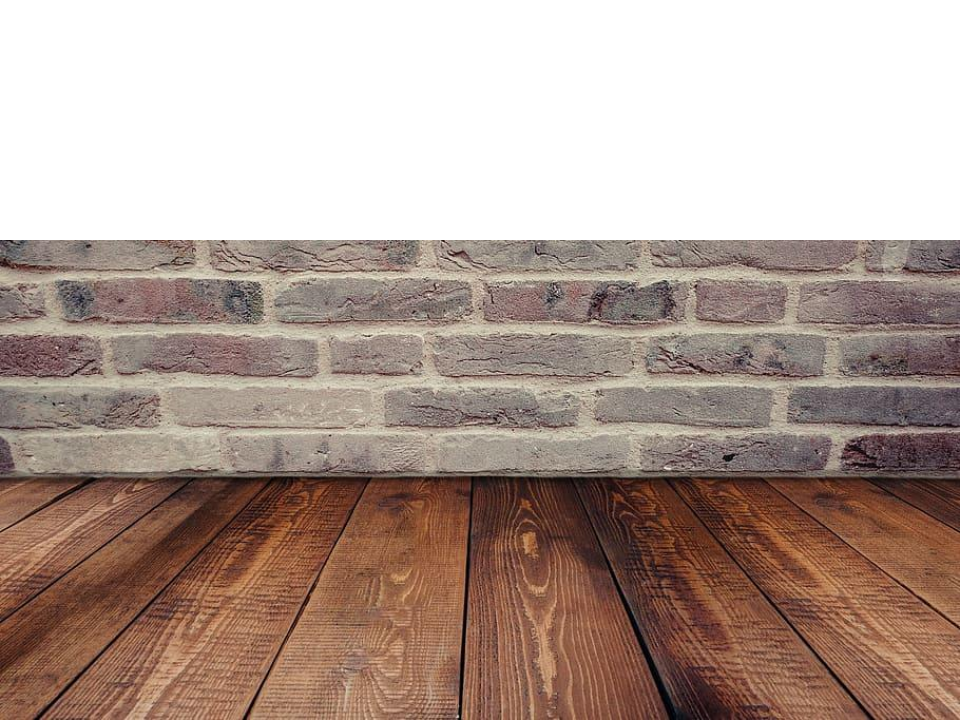
 Find a wall and floor
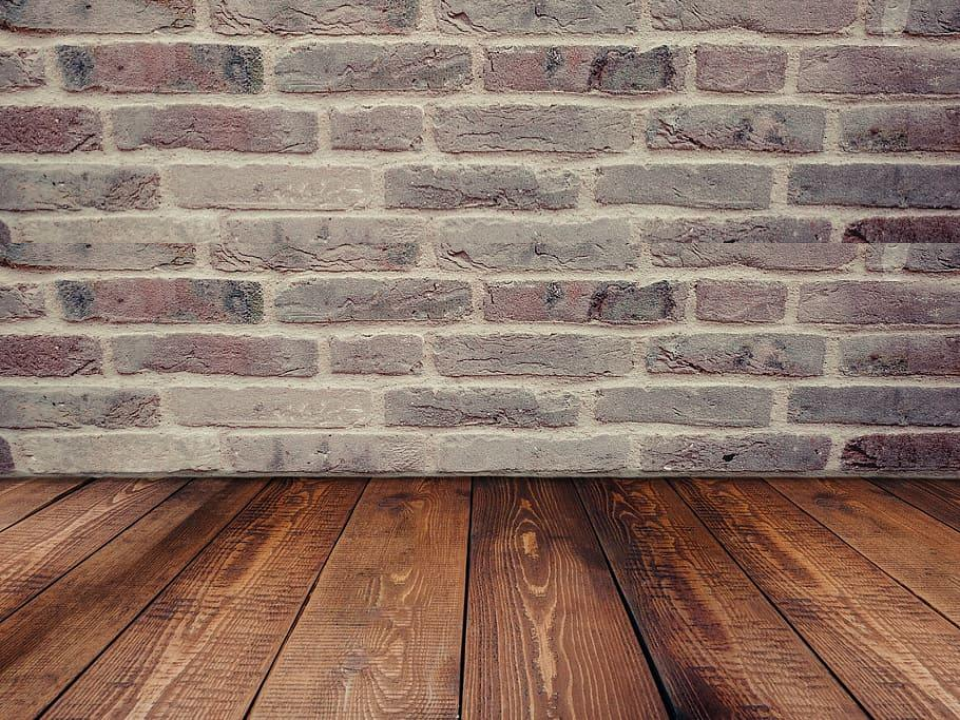
You can search for wall and floor and you will set options together. I will also just design my own sometimes. You can create a solid color flooring, for example gray for a concrete floor and create a pattern on the wall for wall paper. The first example below is a wall and floor created by me, including the baseboard. The second example is using separate wall and floor combinations found on the internet. For the one we make today I’m going to use a combo that I found online.
This link is a Wakelet of image resources. Sometimes a search just doesn’t get you what you want.
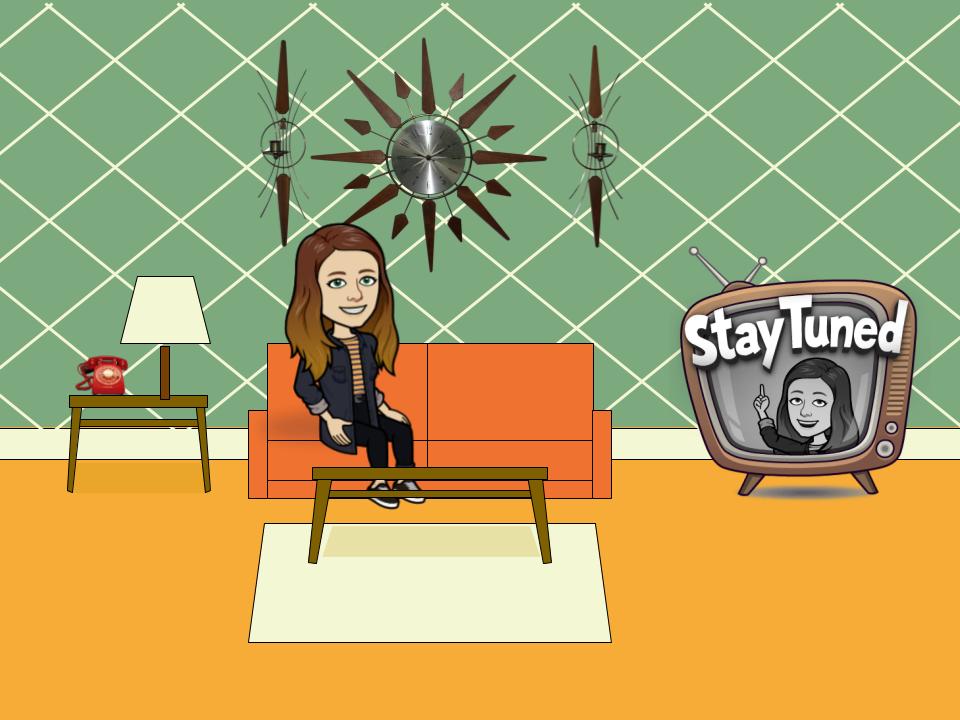
This was my search and the first few images that came up from insert – image in Google Drawing. I picked the second one and it wasn’t quite tall enough so I pasted in another and cropped out the floor. This is one of the reasons I like finding the wall and floor separate. You can make the wall and floor meet wherever you want.
 Add classroom elements and your Bitmoji
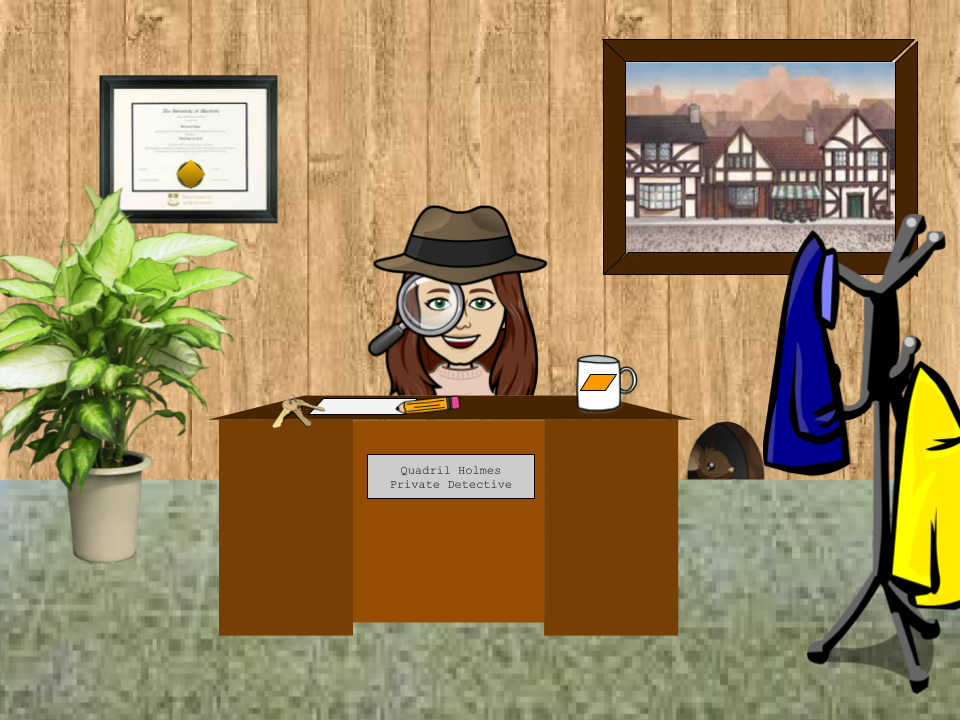
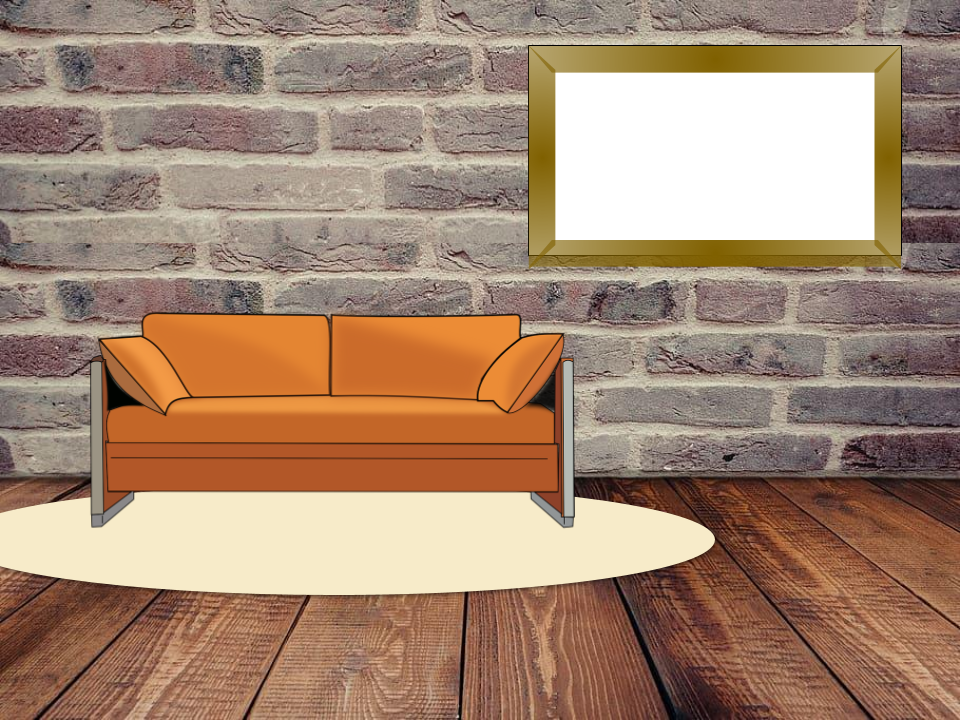
Now the fun begins. Using the same search methods or websites, start adding in furniture. Make sure you set the search to transparent or type transparent after the image to try to get transparent backgrounds. You can also make your own (Tutorial). In the two image in step 2, I made the sofa, rug, lamp, and shadows in image 1 and the desk in image 2. I used the shape tools in Google Drawing (Slides) to create them. You don’t have to do this but it is an option if you can’t find what you need.
Using the Bitmoji extension for Google Chrome will make adding your Bitmoji easier, just drag it from the extension to your drawing. If you don’t use Chrome or don’t want the extension, you can always email from the app on your phone. Saving the image from the email will retain the transparent background.
If you want to add in photos of pets, your own furniture, or other personal objects (the yellow mug with pens below), you can use remove.bg to remove the background. This also works for clipart, just make sure it has modification rights.
Making a whiteboard is easy. Draw a white rectangle and then using the trapezoid tool, create a frame. I use a gradient for the color. You can see a metal frame and a wooden frame below. The rug below is just an oval shape.

 Set Hotlinks
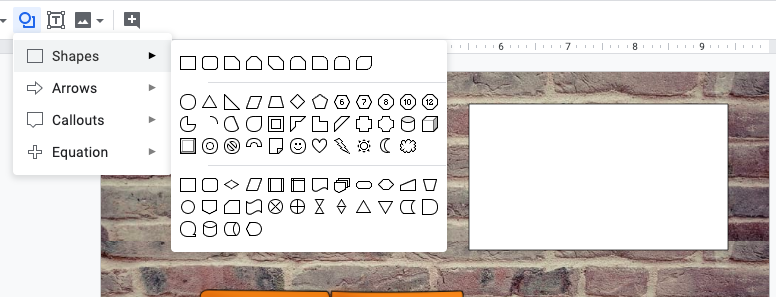
Once you have your image ready, you can set hotlinks on the image. If it is not a grouped imaged you can click the image and the link symbol and type in or paste the URL. If it is a grouped image, you need to put a transparent square or circle using the shape tool and link to that.
 Use your image
If you are using your image for a digital escape room and you are putting it in Google Sites, just insert the drawing inside Sites.
If you are using Sway or a website, you need publish it (Slides or PowerPoint only) to the web (see Sway tutorial) and get the embed code.
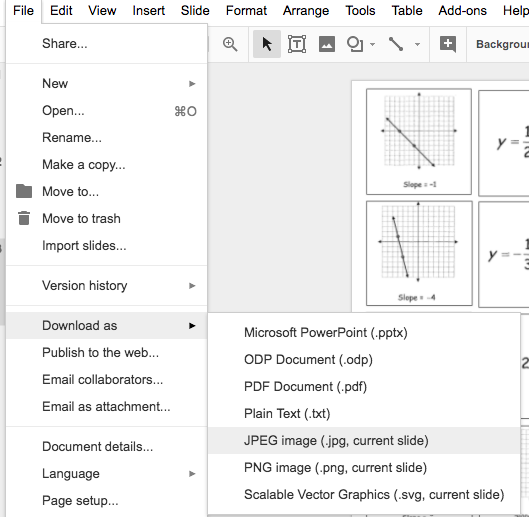
You can also download the image as a .jpg or .png and use it as just an image. You will lose your hotlinks but it’s still super cute for newsletters and Google Classroom headers (set size to 1000 x 250 px before you begin)
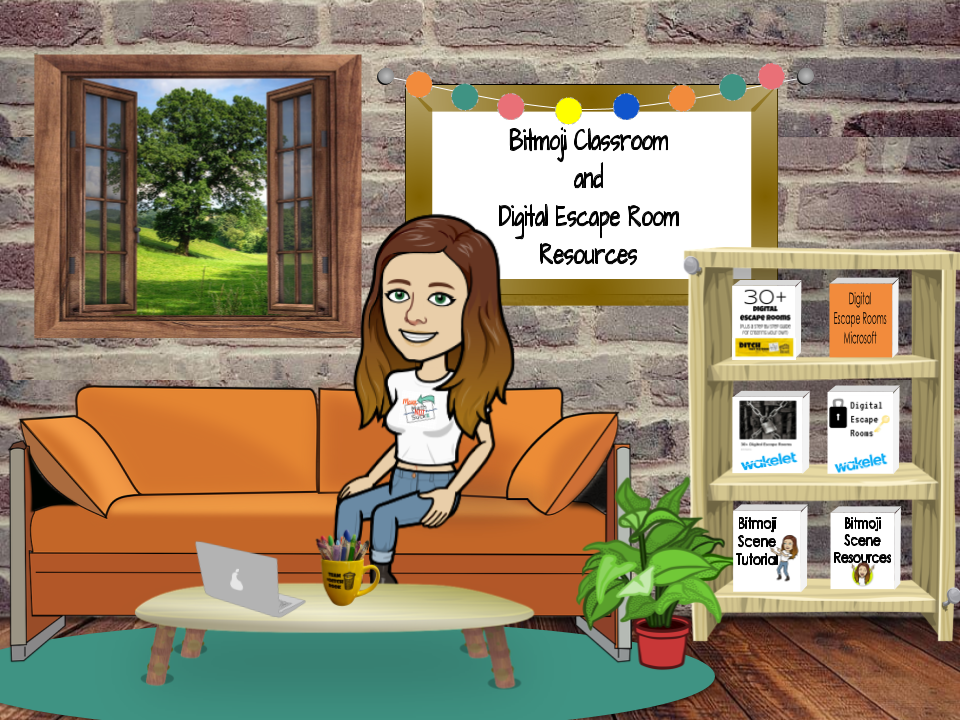
Here is my completed image. The books on the shelf are are clickable links.
Wakelet of Resources Tutorial to Create Your Own Images


 I went through a few attempts to create a memory game in Google Slides. I thought about linking pages but I needed to see two at a time. I wanted to remove one element “on click” but I could only get them to dissolve in a specific order. I settled on deleting the cards and it worked like a charm.
 We are going to use the Master Slides to create our content (the back of the cards). This will prevent the movement of the content when players remove the top card. Using the Master Slides will also make editing possible should you wish to change this activity in the future. The way I suggested to do this before would not allow that.
 We are ready to make the cards. I used the rectangle shape and held down the SHIFT key to make sure I had perfect squares.
 One suggestion from my students was to make this an image so the ? wasn’t editable. Sometimes when clicking on the square they got the ? instead.
  Create the rules page. I’ve included the image of my rules page below. It explains how you would “flip” the cards over to play the game.
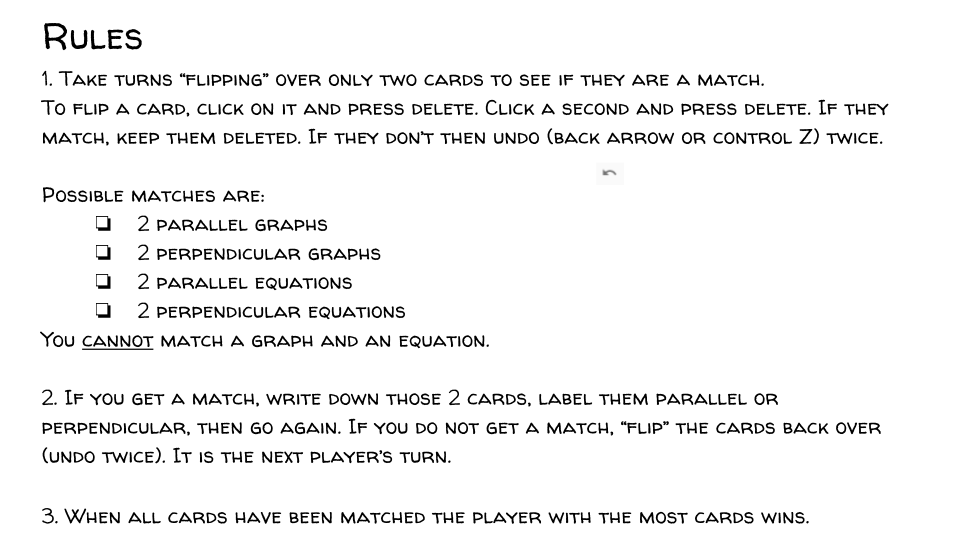
 Play the game!