
I love Bitmojis. I love to show people how easy Bitmoji is to use in Google apps with the Bitmoji Chrome extension. I love to make these Bitmojis custom with your school logo or Google or Ditch That Textbook on the shirt. Here are a few I’ve created and use often.



The second one is my Algebra 1 team. We shared a Google Drawing and each dropped in our Bitmojis. We used this for back-to-school documents.

This one we made as a header for Google Classroom. This was our technology group that presented at our New Teacher Institute this year. We each had our school shirt on. LOVE IT!
Before I get sidetracked by all the fun things we can do with custom Bitmojis, this is really about creating custom FEEDBACK Bitmojis for your students.

Before you begin, you will need to download the Bitmoji Chrome Extension. If you haven’t created your Bitmoji, stop, do it now, RIGHT NOW! You are missing out on soooo much fun!
Bitmoji created? Ok, resume the blog post.
This first video is a short tutorial on how to create a custom Bitmoji in Google Drawing. This can be used in ANYTHING, not just Google Keep. I use these in Google Slides and on Twitter all the time.
This alone should make your day. But if you want the awesomeness to continue, place these images in Google Keep for quick feedback in Google Docs. The next video will show you how to do this.
Please share your custom Bitmojis with me on Twitter (@TTmomTT). Here’s a Twitter tip, download your custom Bitmoji as a .jpg so the background turns white. Most of the time you want a transparent background but Twitter will turn that transparent background black and make it more difficult to see.
Hope to see your custom Bitmoji around the Twittersphere.




 I went through a few attempts to create a memory game in Google Slides. I thought about linking pages but I needed to see two at a time. I wanted to remove one element “on click” but I could only get them to dissolve in a specific order. I settled on deleting the cards and it worked like a charm.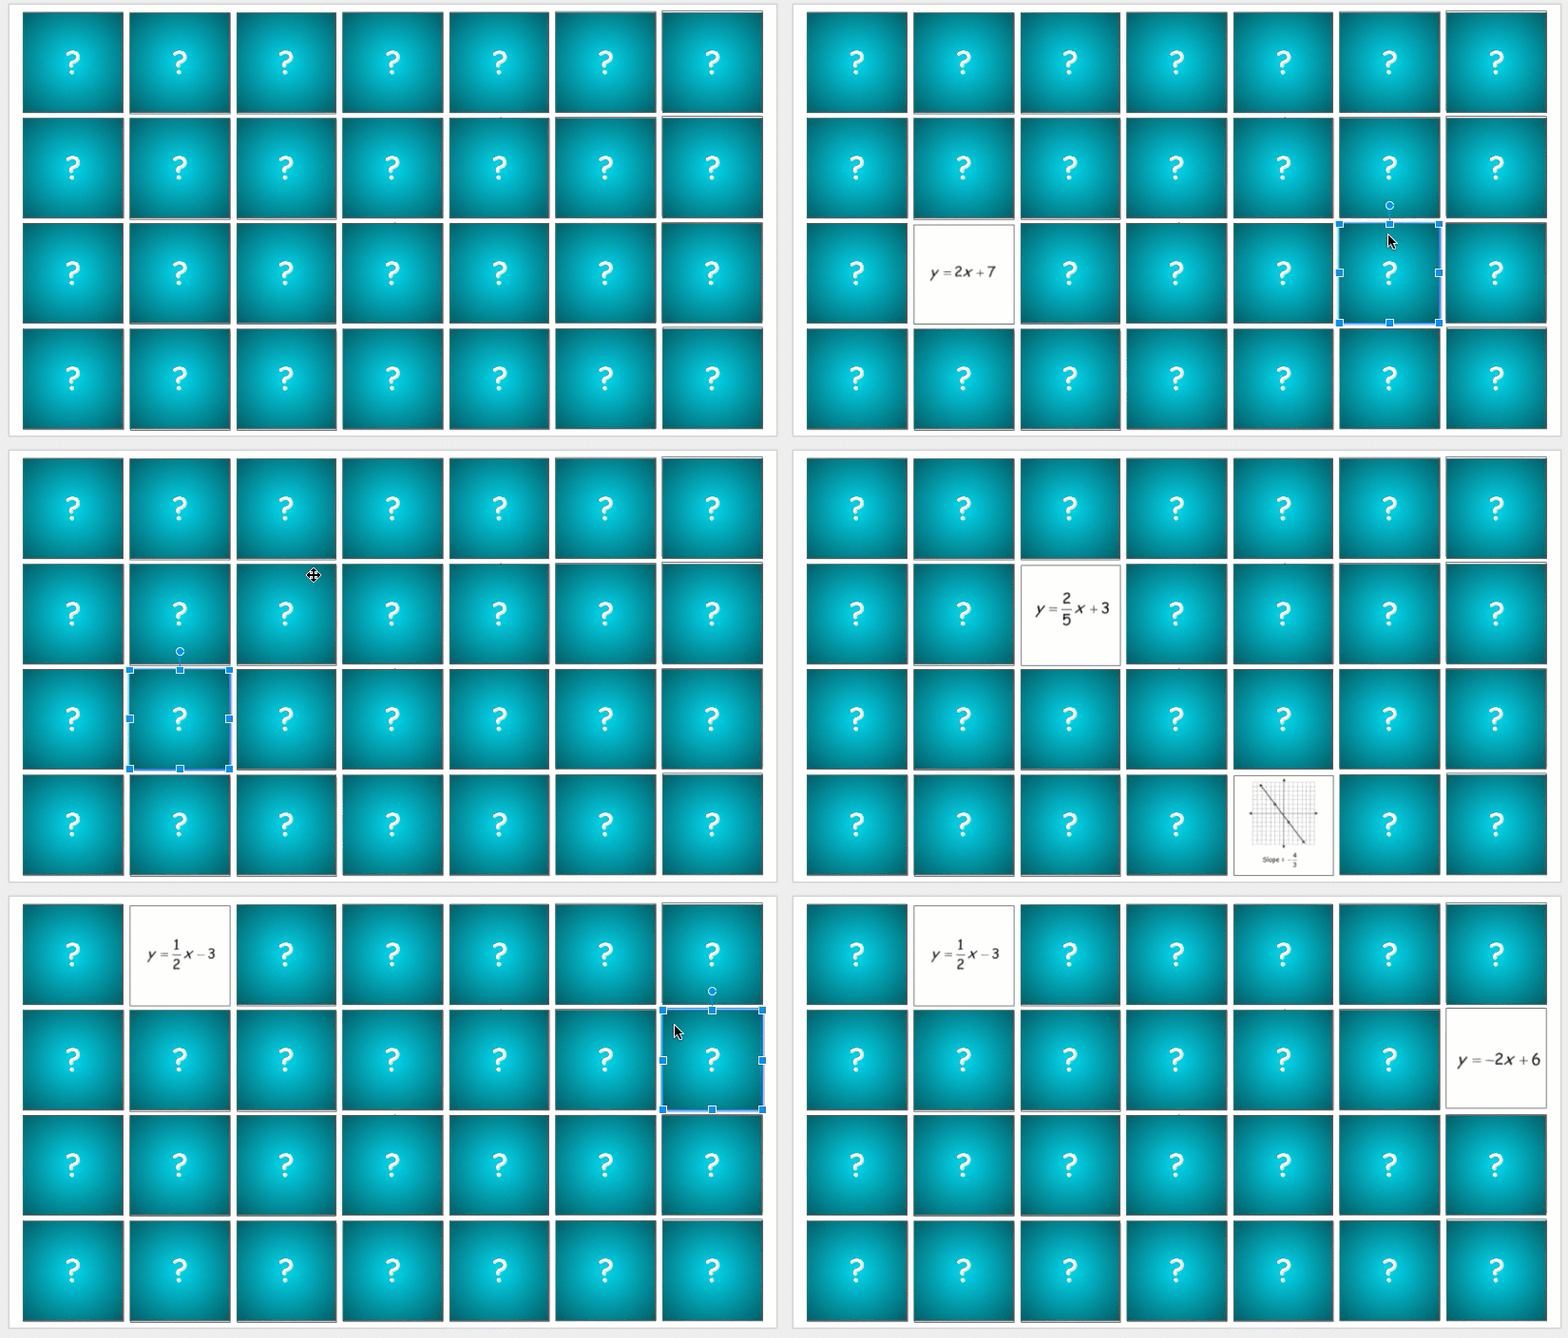
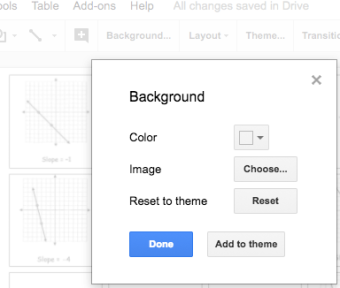
 I used the basic white background so it didn’t distract from game. Place all of the “back side” of the cards, the part with the content, evenly spaced on your background. I ended up putting boxes around mine to help me get them spaced. I love that Google Slides give you guide lines as you place your items.

 This is probably the most important step. We don’t want the background to be deleted while we are playing the game. Once you have the “back side” set exactly as you want it, go to file – download as – and pick jpg or png.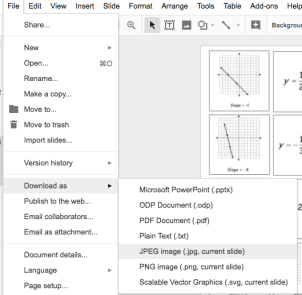
 We are ready to make the cards. I used the rectangle shape and held down the SHIFT key to make sure I had perfect squares.
 One suggestion from my students was to make this an image so the ? wasn’t editable. Sometimes when clicking on the square they got the ? instead.
 Create the rules page. I’ve included the image of my rules page below. It explains how you would “flip” the cards over to play the game.
 Play the game!
 Infinitely Teaching