I stumbled across this post by @micahshippee on Kasey Bell’s website ShakeUpLearning.com. Micah is part of my Google Innovator Cohort and he is amazing.
Micah created an activity where students use Google Slides to create an “app” that you can load on your phone or tablet. I decided to use this wonderful idea to review area formulas. My students created an app where you could click a button and find the formula and an example for each shape. I love when you create a project that students are excited about! This project fits that description.
Bonuses: Students were VERY ENGAGED. They were still working when the bell rang and didn’t really want to stop. They were helping each other, critiquing without being prompted, and giving great advice. I was MORE THAN excited when students came into class the day the assignment was due with the app already loaded on their phone. They were soooo proud! I think, as an extension of this activity, we will share our apps with lower grade levels, who are learning about area for the first time, and have them give us feedback through Flipgrid.
Here is the activity I gave the students. My instructions are taken directly from Micah’s post because they are so thorough. He is cited in the activity.

I’ve also included some of the apps created by my students. OMGee, they make my heart happy. You should be able to click on the phone below and it will open a Google Drawing file where the links are active. If you use this activity, please share on Twitter and tag me @MandiTolenEDU and @micahshippee.
Imagine what else you could do with this activity!!!


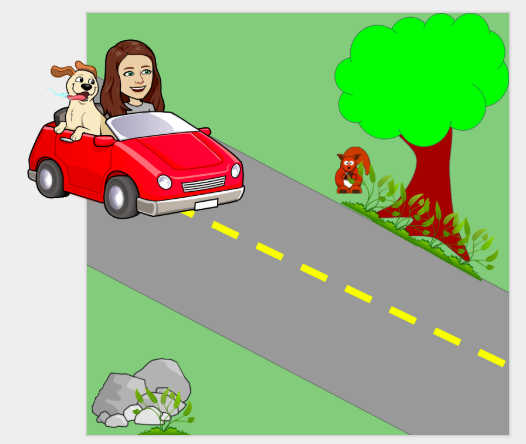
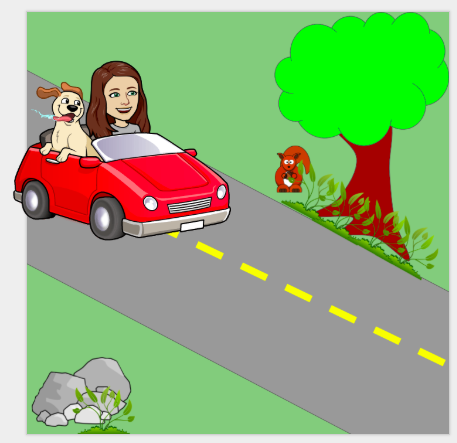
 Continue the process until you have moved your object to the end. This short little movie had 11 slides total.
 I went through a few attempts to create a memory game in Google Slides. I thought about linking pages but I needed to see two at a time. I wanted to remove one element “on click” but I could only get them to dissolve in a specific order. I settled on deleting the cards and it worked like a charm.
 I used the basic white background so it didn’t distract from game. Place all of the “back side” of the cards, the part with the content, evenly spaced on your background. I ended up putting boxes around mine to help me get them spaced. I love that Google Slides give you guide lines as you place your items.
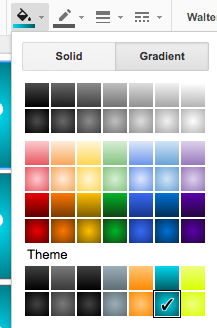
 This is probably the most important step. We don’t want the background to be deleted while we are playing the game. Once you have the “back side” set exactly as you want it, go to file – download as – and pick jpg or png.
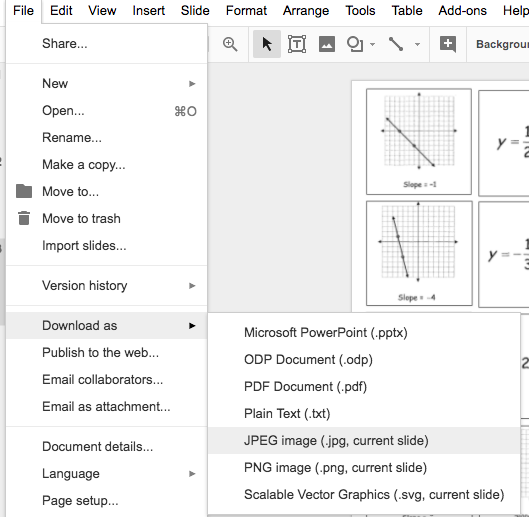

 We are ready to make the cards. I used the rectangle shape and held down the SHIFT key to make sure I had perfect squares.
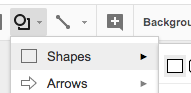
 One suggestion from my students was to make this an image so the ? wasn’t editable. Sometimes when clicking on the square they got the ? instead.
 Create the rules page. I’ve included the image of my rules page below. It explains how you would “flip” the cards over to play the game.
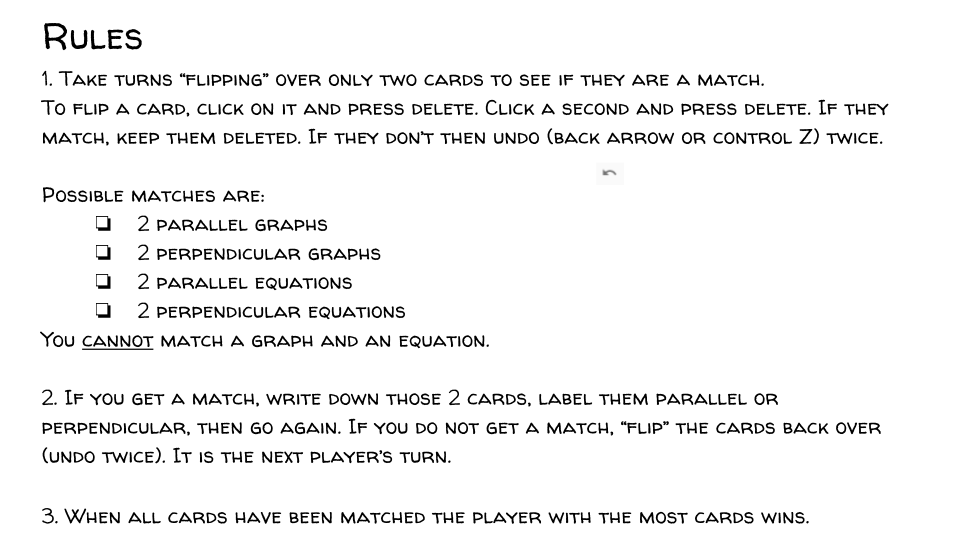
 Play the game!

")